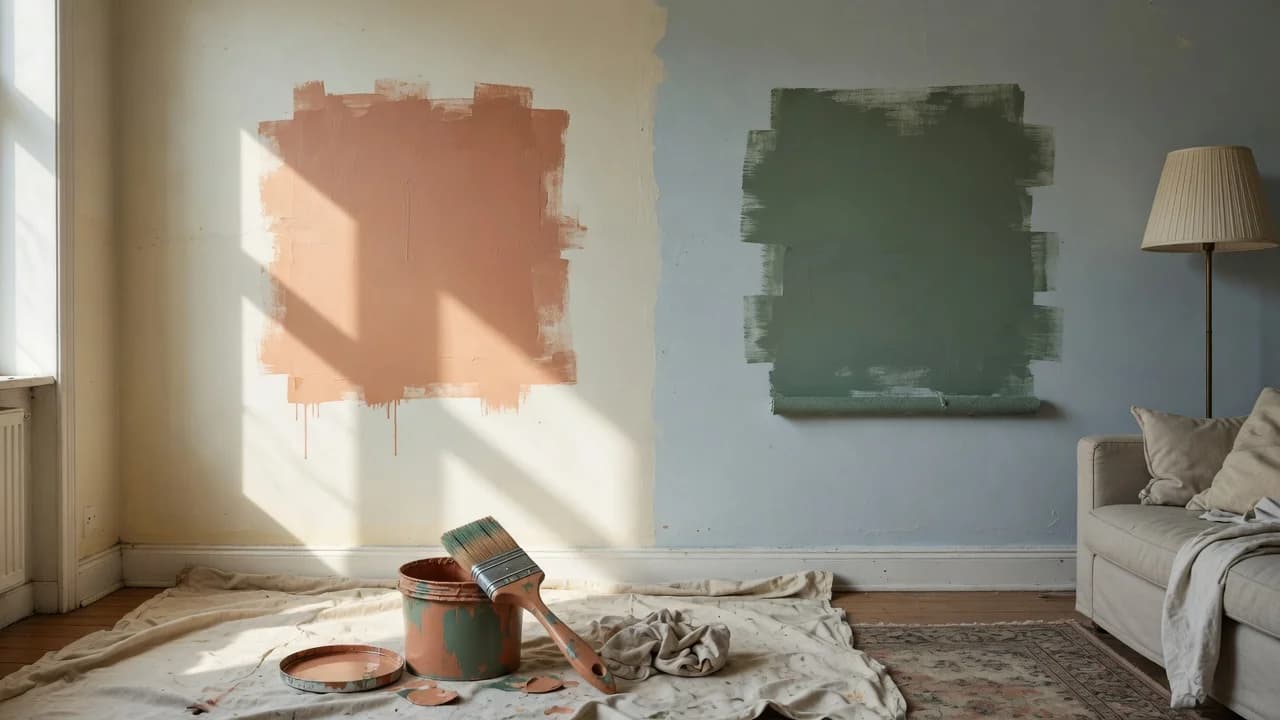
Since the big-box hardware store put a spectrophotometer in every paint aisle, the promise has been simple: bring in a chip, walk out with a perfect match. You've probably tried it. The chip you peeled off the wall looked warm beige under the store's fluorescent lights, and the machine spat out a formula that supposedly nails it. Then you painted a whole wall and the result looked nothing like what you expected.
The mismatch isn't random, and it isn't the machine's fault. It's physics. Three specific variables change how paint looks between the chip and the wall: substrate absorption, sheen differential, and metamerism. Only one of those gets talked about in the paint aisle.
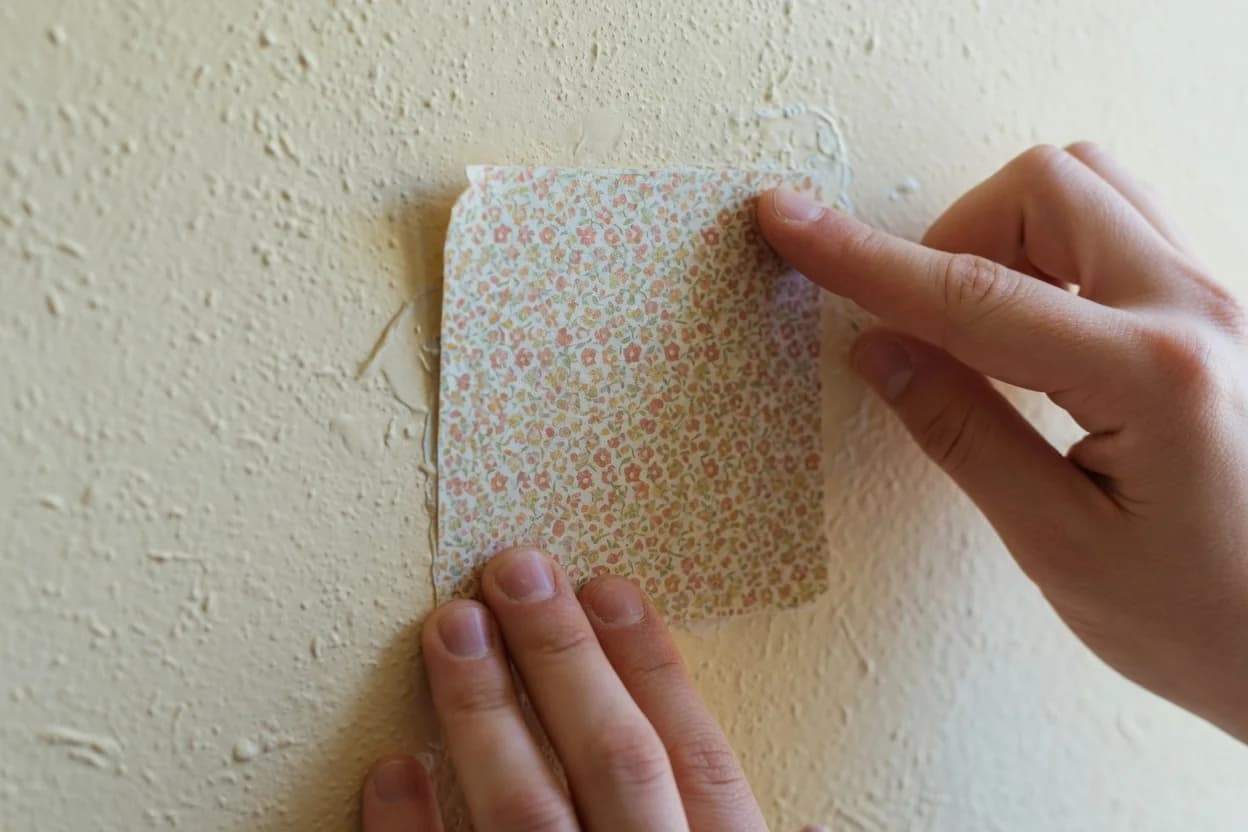
A paint chip is printed ink on paper, not a dried paint film. It sits on a card with zero porosity, under whatever light happens to be overhead. Your wall is a porous surface that drinks binder unevenly, reflects light off its texture, and lives under your specific mix of windows and bulbs. Those are different worlds.
What trips up most people isn't the color itself. It's that the chip gave them a preview of something that doesn't exist yet under conditions that won't repeat.
Why the Chip Betrays You
Paint looks the way it does because of how light hits the pigment particles suspended in the dried binder film. When you look at a paint chip, you're seeing ink printed on coated paper. When you look at a painted wall, you're seeing a film of binder, pigment, and additives that has bonded to drywall, plaster, or wood. Those two surfaces interact with light in fundamentally different ways.
The first culprit is substrate absorption. Drywall paper, joint compound, old plaster, and previously painted surfaces all have different porosity levels. A porous surface pulls the liquid binder into the substrate before the film can form evenly. That leaves pigment particles with less binder around them at the surface, scattering light differently and shifting the perceived color. The chip, printed on non-absorbent stock, experiences none of this.
Sheen makes it worse. The chip is always matte. Your wall might be eggshell, satin, or semi-gloss. As sheen increases, the surface reflects light more directly, which makes the color appear darker and more saturated. Identical pigments across different sheen levels produce measurably different visual results because higher-gloss surfaces create specular reflection while flat surfaces scatter light diffusely.[1] A flat chip next to a satin wall is a comparison between two different optical events, not two versions of the same color.
The Lighting Problem Nobody Warns You About
Or rather: it's not one lighting problem. It's two, and they compound.
The first is the light source itself. Paint stores use fluorescent or LED lighting tuned to render colors neutrally. Your living room has north-facing windows, warm-white LEDs, or a mix of both. The same pigment formulation reflects different wavelengths depending on the spectrum of the light hitting it. Sherwin-Williams calls this metamerism: two colors match under one light source and diverge under another.[2] The spectrophotometer at the store measures reflectance under a standardized illuminant, usually D65 daylight. Your room at 7 PM under warm LEDs is not D65 daylight.
The second problem is that metamerism gets more aggressive with complex pigment blends. Colors made from three or fewer pigments tend to stay more consistent across lighting conditions. Colors built from four or more pigments, which includes most complex neutrals and warm grays, drift noticeably. Benjamin Moore's guidance on color testing emphasizes observing samples from morning to evening under both natural and artificial light because the shift is real and predictable once you know to look for it.[3]
Your paint chip didn't lie to you. The wall changed it. And the light changed it again.
How to Test: The Three-Variable Protocol
Forget the chip. Or rather, use it to narrow down to two or three candidates, then set it aside. The test that actually predicts what your wall will look like requires real paint, applied to the actual surface, observed under the room's real lighting across a full day.
First, buy sample pots. Sherwin-Williams sells Color to Go containers and Benjamin Moore offers 8 oz. samples tinted in the actual base that will be used for your gallon. These aren't identical to the final product (sample paints omit some durability additives), but the colorants and binder system match. Expect to pay roughly $5 to $8 per sample.
Second, paint test patches directly on the wall. Not on poster board. Not on foam core. Those materials have different absorption profiles than your actual wall surface. Benjamin Moore's sample instructions recommend brushing out at least two coats on the wall itself.[3] Each patch should be at least 2 feet by 2 feet. Smaller than that and your eye can't separate the test color from the surrounding wall color well enough to judge accurately.
Third, paint patches on two different walls. One that catches morning light, one that doesn't. The same color on a south-facing wall versus a north-facing wall can look like two entirely different paints by mid-afternoon.
Fourth, prime a section first. If your wall currently has a saturated color and you're testing a pale neutral, the old color will bleed through and tint your judgment. A white-primed 2x2 patch gives you an honest read. Before you sign off on a color, check it at 9 AM, 1 PM, and 7 PM under both natural and artificial light. Mark the one that works across all six viewing conditions.
Quick-Reference Summary: Buy sample pots of 2 to 3 candidates. Paint 2x2 ft patches with two coats on primed sections of two different walls. Observe at morning, midday, and evening under both natural and artificial light. The color that survives all six conditions is your answer.
Where Testing Falls Short
The protocol works, but it has limits worth knowing before you spend $30 on sample pots.
If your wall has been patched or repaired, the test patch on a smooth section won't predict how paint behaves over the repair. Joint compound absorbs differently than drywall paper. That creates subtle banding, sometimes called flashing, where the repair shows through as a sheen difference even if the color matches. You'll need to prime the entire wall to even out absorption before any meaningful color evaluation.
Mixed light sources create another complication. A room lit by a north window during the day and warm-white LEDs at night can make the same paint appear cool gray at noon and warm greige at 8 PM. No single paint solves this. The test protocol shows you the range of the shift so you can decide whether you can live with it, but it can't eliminate metamerism from a room with fundamentally different light sources at different times.
Textured walls scatter light differently than smooth drywall. A 2x2 test patch on orange peel or knockdown texture still gives useful information, but the perceived color will shift more dramatically as you move around the room because the angle of light reflection changes with surface contour.
The Store-Match Shortcut and What It Costs You
The alternative to testing is the convenience path: peel a chip, take it to the paint desk, let the spectrophotometer do its thing, and buy a gallon. It costs nothing and takes ten minutes.
Here's what that shortcut costs you in practice. The machine measures reflectance from a printed ink surface, not a dried paint film. It matches under D65 light, not your room's actual lighting. It doesn't account for sheen at all because the chip has no sheen. And it can't predict how your wall's porosity will shift the final film.
That doesn't mean spectrophotometer matching is useless. It gets you into the right color family quickly. But the two approaches aren't interchangeable:
| Factor | Store Spectrophotometer | Wall Test Protocol |
|---|---|---|
| Accounts for substrate absorption | No | Yes |
| Accounts for sheen | No | Yes (buy correct sheen sample) |
| Accounts for room lighting | No (D65 standard only) | Yes (observe across full day) |
| Time required | 10 minutes | 1 afternoon + observation day |
| Cost | Free | $15 to $25 in sample pots |
For repainting a whole room where you're changing colors entirely, starting with a machine match and then testing with a sample pot is a reasonable workflow. For touch-ups on an existing color more than two years old, skip the machine entirely. Aged paint on the wall has shifted from UV exposure, dirt, and oxidation. No spectrophotometer compensates for years of sunlight. You'll need to paint corner to corner.
If you're changing a room's color entirely and the current wall is in decent shape: buy 2 to 3 sample pots, test on primed wall sections, observe across a full day of lighting conditions. One afternoon of testing beats repainting a room you hate.
If you're touching up existing paint that's more than two years old: plan on painting the full wall, not just the damaged area. The color on the wall has aged. Even a perfect formula match from the original can won't blend into the surrounding paint film.
If you're painting over a repaired, patched, or heavily textured wall: prime the entire surface before testing any color. Absorption differences will distort every sample you put on unprimed drywall.
The chip showed you a possibility. The wall decides what actually happens. Give the wall the final say. Skip the test and you'll find out the hard way, on 200 square feet instead of four.