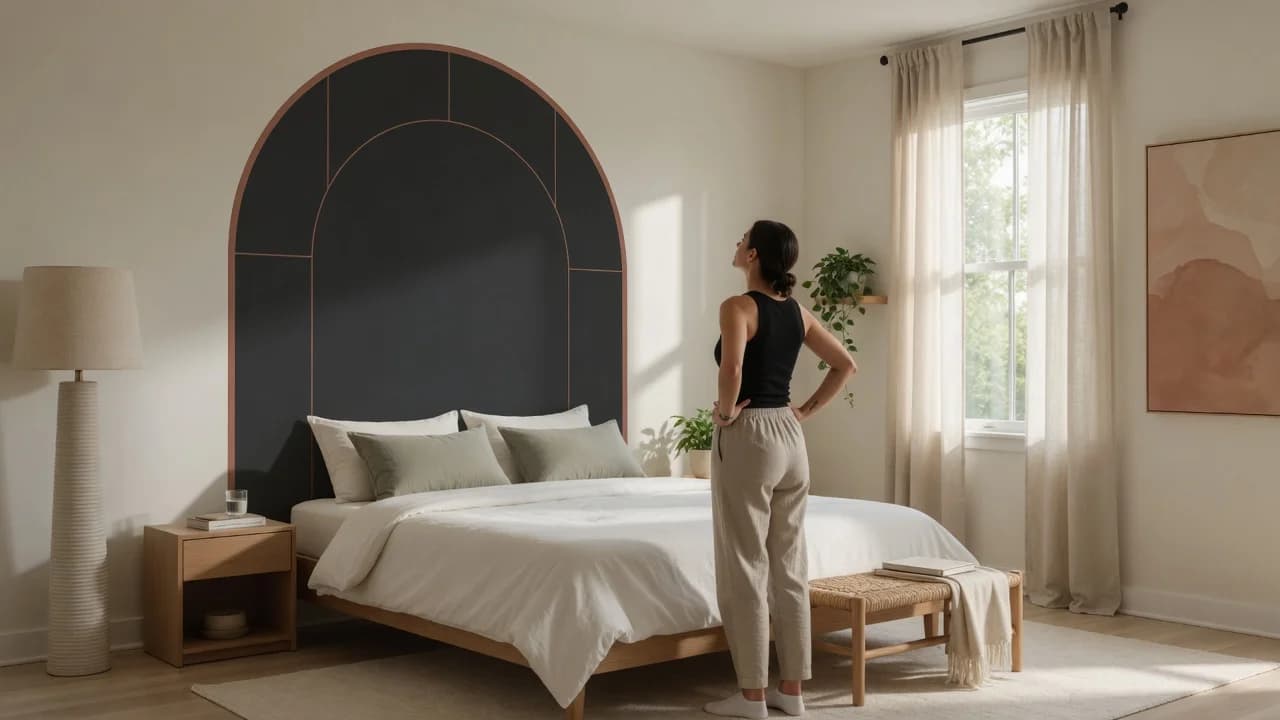
Interior designers will ask about your wall finish before they'll discuss which headboard decal to buy, and the reason isn't about being difficult. A peel-and-stick headboard decal costs somewhere between $25 and $120 for a queen-size option. That makes it the cheapest headboard you'll ever buy by a factor of about five.
The real question isn't whether a decal can look convincing. It's whether your specific bedroom, with its particular walls, windows, and bed placement, will let it. Put a well-chosen decal on a smooth matte wall with indirect bedroom lighting, and most guests won't notice it isn't furniture until they're close enough to touch it. Put the same decal on orange-peel drywall under a window that throws side-light across the wall, and it'll read as a sticker from the doorway.
The gap between those two outcomes isn't random. It's controlled by three variables most buyers skip over: the finish of the decal surface, the proportion of the shape relative to the bed, and what's already on your wall before the backing paper comes off.
The Three Variables That Actually Control the Illusion
The human eye reads an object as three-dimensional using a handful of depth cues: shadow, edge definition, and surface reflectance. A decal is flat. It has no shadow of its own. So the illusion depends entirely on preventing the eye from noticing that.
Finish is the variable that matters most and gets discussed least. A glossy decal surface reflects light uniformly, which screams flat the moment a lamp or window hits it at an angle. Matte finishes scatter light the way fabric or painted wood does. Or rather: the finish doesn't need to fool someone inspecting it from twelve inches. It needs to not betray itself from across the room, which is the distance at which anyone who isn't you will actually see it.
Proportion comes next, and this is where most decals on the market undershoot. A real upholstered headboard on a queen bed typically runs 62 to 66 inches wide and extends 24 to 30 inches above the mattress. A lot of decals are narrower and shorter, around 50 to 54 inches wide and 18 to 22 inches tall. That undersized footprint registers subconsciously as something that doesn't quite fill the space. Extend the decal 4 to 8 inches past the bed frame on each side, and keep the height at roughly a third of the distance from mattress to ceiling.
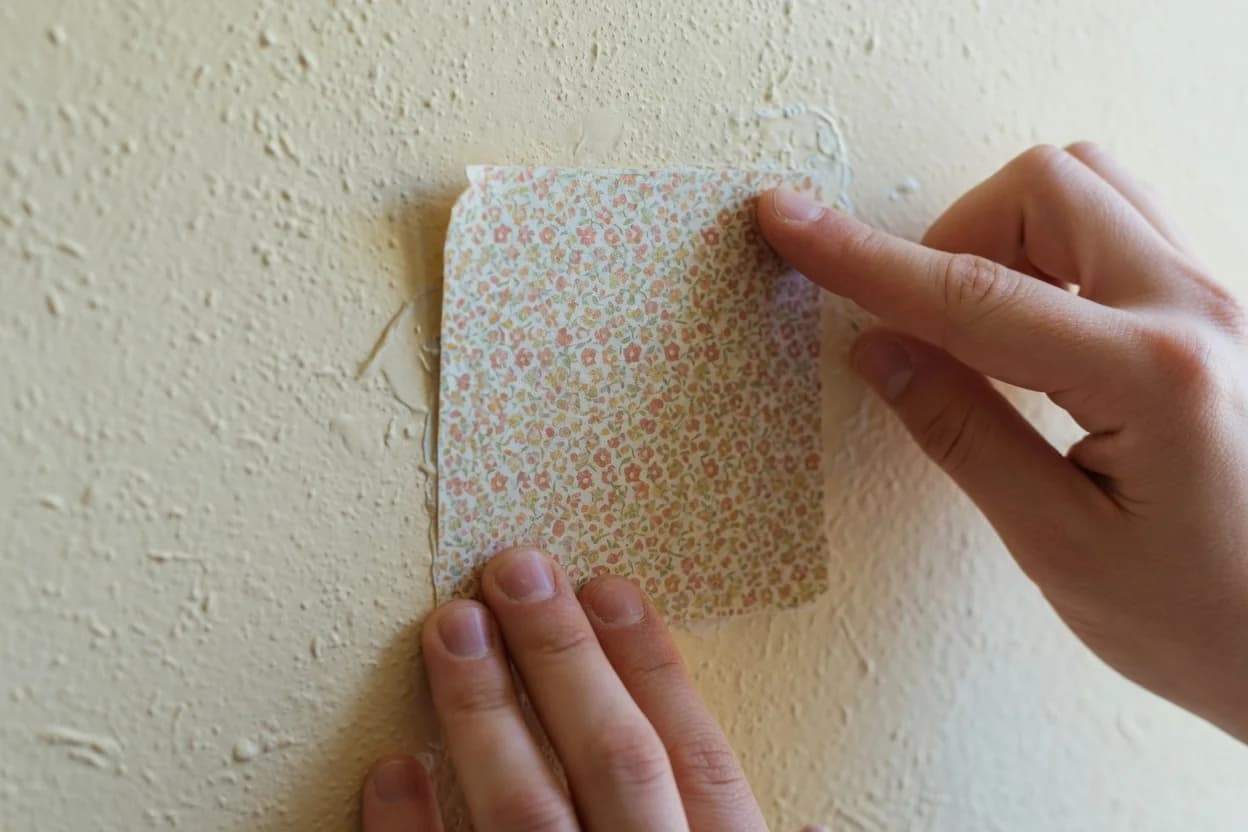
Wall texture is the third variable, and it's the one that kills the project before it starts if you ignore it. Peel-and-stick products depend on full surface contact between adhesive and substrate. On smooth drywall, you get near-complete adhesion. On orange peel, the most common wall texture in American homes, the adhesive only contacts the raised peaks, leaving the valleys unbonded[1]. That means reduced hold, edges that lift within weeks, and a surface that telegraphs its flatness because it doesn't sit flush. Light orange peel can work with a heavier-gauge decal and careful installation. Knockdown, skip trowel, and popcorn textures are where the math flips against you.
Decal Types: What You're Really Choosing Between
The market splits into three categories that produce different answers to the convincing question.
Thin vinyl decals are the most common and cheapest, typically $25 to $50 for a queen-size shape. They print a headboard silhouette onto 3- to 5-mil vinyl. The problem isn't the print quality, which has improved substantially. It's that thin vinyl telegraphs wall texture. If your wall has any variation at all, the vinyl conforms to it like plastic wrap, and those tiny bumps catch light in ways a real headboard wouldn't.
What follows is how the categories stack up on the variables that matter for a grown-up bedroom:
| Decal Type | Price (Queen) | Best Wall Surface | Visual Depth | Convinces From |
|---|---|---|---|---|
| Thin vinyl (3-5 mil) | $25-$50 | Smooth only | None | ~10 ft, indirect light |
| Thick vinyl/fabric (8-12 mil) | $50-$90 | Smooth, light orange peel | Slight (material tooth) | ~6 ft, moderate light |
| Textured panels (foam/fabric-backed) | $80-$180 | Smooth, orange peel, light knockdown | Real (0.25-0.5 in) | ~3 ft, most lighting |
The textured panel category blurs the line between decal and headboard. A 0.5-inch foam-backed fabric panel with peel-and-stick mounting isn't a decal in the sticker sense; it's a lightweight upholstered panel that happens to use adhesive instead of brackets. These read as real headboards in almost any lighting condition. The trade-off is price and a slightly more involved installation.
Framing changes the equation further. A decal inside a border of peel-and-stick trim or lightweight molding reads as an intentional panel rather than a sticker someone put on a wall. The frame creates a visual boundary that the eye interprets as object, not surface. This is the single highest-impact move you can make for under $30 in trim, and it works even with budget vinyl decals.
Installation Factors That Make or Break the Result
Even the best decal fails if the installation telegraphs its nature. The things that give away a peel-and-stick product aren't usually visible from across the room. They're the seams, the edge lift, and the bubbles that develop over the first month.
A convincing headboard decal reads correctly from across the room, not up close. Surface preparation matters more than the decal itself. Dust, cooking grease residue, and the faint film that accumulates on bedroom walls all reduce adhesion. Wipe the wall with a 50/50 isopropyl alcohol and water solution and let it dry completely before you start. Skip this step and you'll be pressing down lifting edges within two weeks.
Temperature during installation is another variable that gets ignored. Peel-and-stick adhesives bond best between 65 and 75 degrees Fahrenheit. Installing in a cold bedroom or against an exterior wall in winter produces weaker initial adhesion. If the room feels cool to you, the adhesive feels cool too, and it won't flow into the microscopic pores of the paint the way it should.
Use a felt squeegee, not a credit card. Credit cards concentrate pressure along a narrow edge and leave parallel tracks of uneven adhesion. A felt-edged smoother distributes pressure evenly and pushes the adhesive into the wall surface rather than skating across it. Work from the center outward in 6-inch sections, and don't rush the edges. Edge lift starts because the perimeter got less pressure than the field.
When a Decal Is the Wrong Call
There are bedrooms where a peel-and-stick headboard decal will never look right, and the honest move is to recognize that before you open the package.
Heavily textured walls are the clearest disqualifier. If you can see shadows cast by the texture when a lamp is on, a decal will conform to those peaks and valleys in ways that catch light unpredictably. You can skim-coat and sand the wall smooth, but at that point you've spent more time on prep than a DIY upholstered panel would require, and you've lost the peel-and-stick-in-ten-minutes advantage that made the decal appealing.
Strong side-lighting from a window at bed height is the second dealbreaker. The flatness of a decal becomes visible the moment light strikes it at a shallow angle. A real headboard has depth that creates its own shadow; a decal doesn't. If your bed sits against a wall with a window to its immediate left or right, the light will expose the decal every morning. In that layout, a framed wallpaper panel mounted on foam board or a simple fabric panel on a lightweight wood frame will read as intentional in ways the decal cannot.
Ignore the warning signs and you end up with a bedroom focal point that reads as a compromise every time you walk in. That's the consequence of pushing a decal into conditions it wasn't designed for. The textured panel category solves both problems to some degree, but at $80 to $180 for a queen-size setup, you're within range of an actual budget upholstered headboard. At that point, the question shifts from is this convincing enough to why not just buy a real one. Wall decals have been used as headboard replacements for years in rental apartments and starter homes, and the concept works when the conditions are right[2].
Start tonight: turn off your bedroom lights, turn on the lamp you use most, and look at the wall behind your bed. If it's smooth and lit indirectly, order a matte-finish decal in a proportion that extends past your bed frame. You're in the sweet spot where these products work.
This week: if your wall has light orange peel texture, order a sample from a brand that uses thicker material, not the cheapest vinyl. Test it for two days next to the window. If it holds and the texture doesn't bleed through, proceed with the full size. If it lifts or bubbles, switch to a foam-backed panel or a framed wallpaper approach instead.
Within the month: add peel-and-stick trim around the perimeter once the decal is up and has settled for a week. The frame is what transforms the decal from a sticker on a wall into something that reads as an intentional design choice. A $20 trim kit does more for the illusion than spending an extra $50 on the decal itself.