A furniture refinisher will tell you to forget about paint color until you've solved the surface problem. And on IKEA laminate, the surface problem is worse than most people realize.
IKEA dressers like the MALM, HEMNES (the non-wood versions), and KALLAX use a melamine foil laminate over particleboard or MDF. This isn't wood veneer. It's a heat-fused plastic layer that nothing wants to stick to. You can brush on the most expensive cabinet paint sold at Sherwin-Williams, and it'll peel off in sheets within a month if you skip the prep steps that actually address why the surface rejects adhesion.
That's the tension. You've probably seen the before-and-after photos. You might have even tried painting an IKEA piece yourself and watched the finish fail at the edges and corners within weeks. The difference between a painted dresser that lasts five years and one that looks terrible by next season isn't about paint quality or brush technique. It comes down to three specific interventions that most online guides either skip or get wrong: the right grit, the right primer chemistry, and the right cure window.
Why IKEA Laminate Rejects Paint
Most laminate painting advice treats all laminate as roughly the same surface. It's not. IKEA's melamine foil is thermally fused under heat and pressure, creating a surface with extremely low surface energy. That's the technical way of saying almost nothing chemically bonds to it.
The Spruce confirms that IKEA cabinet boxes use melamine foil over MDF cores, and most door and drawer fronts use thermofoil or melamine foil over fiberboard.[2] These are plastic surfaces. Wood primers bond to wood fibers. Acrylic primers rely on mechanical keying into porous substrates. Neither mechanism applies to a smooth, non-porous plastic sheet. Cabinet-grade laminate used in kitchen remodels is thicker and often textured. IKEA's foil, by contrast, can be thinner than a sheet of printer paper in some places. Sand through it and you're into particleboard, which soaks up paint unevenly and swells with moisture.
Put more precisely: the failure isn't that paint "doesn't stick" to laminate. It's that standard primers and paints depend on absorption or fiber-grabbing, and IKEA's surface offers neither. You need a primer that bonds to the plastic itself, and you need to give it enough surface roughness to hold onto, but not so much that you destroy the thin foil layer.
The Prep Sequence That Makes Paint Stick
Painting IKEA laminate isn't a paint problem; it's a surface-preparation problem that happens to end with paint.
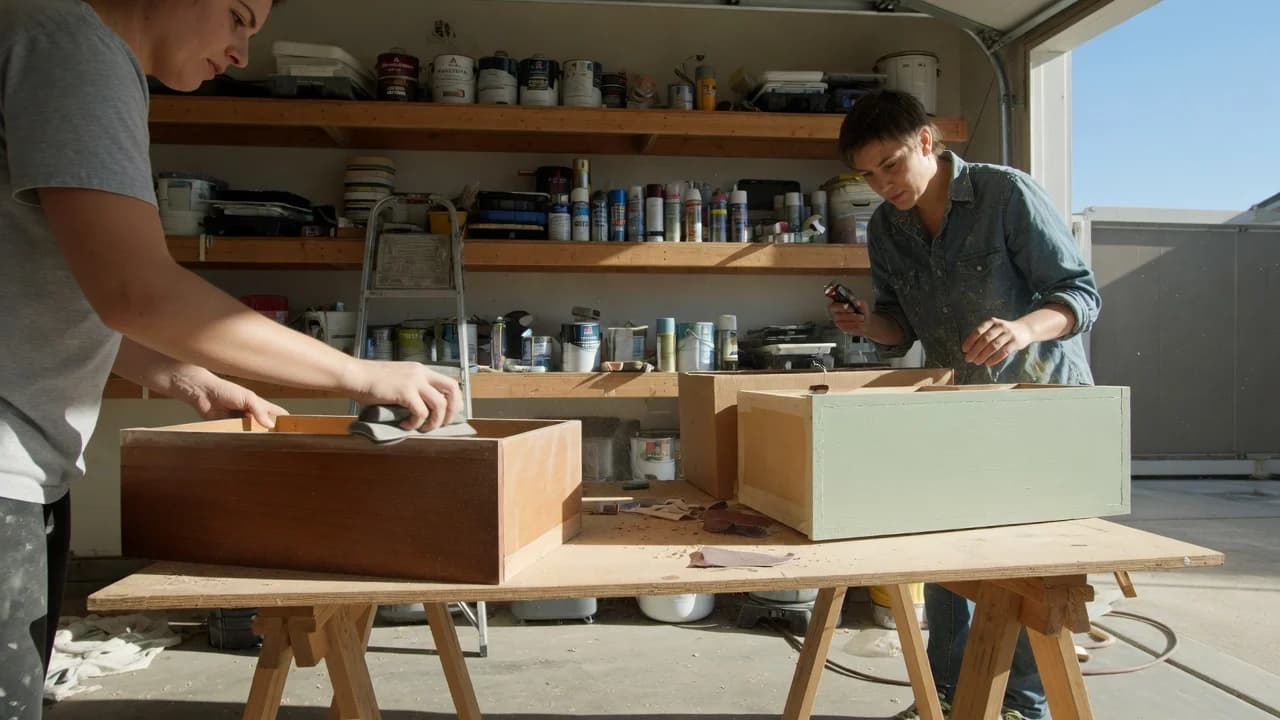
Start by disassembling what you can. Pull the drawers, remove the hardware. Painting assembled furniture guarantees missed edges and drips in the gaps. Set up in a ventilated space. A garage or covered outdoor area with temperatures between 60°F and 80°F is ideal.
Every surface needs degreasing. IKEA furniture accumulates a film of production residue, hand oils, and whatever furniture polish was applied over the years. Trisodium phosphate (TSP) or a TSP substitute, mixed per the package directions, cuts through all of it. Wipe down with clean water afterward and let dry completely. Skipping this step means sanding grease into the surface rather than removing it.
Now sand. Not aggressively. You're not removing the laminate. Use 220-grit sandpaper, finer than the 180-grit some guides recommend for cabinets but better suited to IKEA's thinner foil. Sand just enough to knock the gloss off every square inch. The surface should look uniformly dull, not scratched or fuzzy. A sanding block gives better control than an orbital sander on thin foil. Vacuum thoroughly, then wipe with a tack cloth. Do not use a damp cloth here—moisture on exposed particleboard edges causes swelling. And don't skip the tack cloth step.
Check for peeling laminate edges before you move on. If you find any, glue them down with wood glue and clamp until set. Primer and paint will not fix a lifting edge; they'll make it more obvious.
Primer Is the Non-Negotiable Middle Step
This is the step where most IKEA painting projects succeed or fail. The primer you choose determines whether your paint bonds or peels.
Zinsser B-I-N Shellac-Base Primer is the standard recommendation among furniture refinishers for good reason. Its manufacturer states it provides "excellent adhesion to glossy surfaces without scuff sanding" and explicitly lists laminates among its approved substrates.[1] Shellac, unlike acrylic or oil-based primers, bonds at the molecular level to melamine and plastic surfaces. The denatured alcohol solvent microscopically softens the plastic during application, and the shellac resin locks on as it cures. I'd reach for this one first for any IKEA piece with high-gloss foil—it gives you the widest margin for error.
Water-based bonding primers like INSL-X STIX or Zinsser Bulls Eye 1-2-3 do work. Benjamin Moore recommends STIX for laminate furniture. But they rely more heavily on the mechanical key provided by sanding. If your sanding was thorough and even, they perform well. If you missed spots or sanded too lightly, shellac bonds chemically even to unsanded glossy patches. Apply two thin coats with a foam roller for flat surfaces and a brush for edges and details. Thin coats dry faster and level better than one thick coat. Sand lightly with 320-grit or finer between coats to knock down nibs, then wipe with a tack cloth. Let the second coat develop full adhesion before painting. Zinsser specifies 1 to 3 days for the original shellac, 7 days for the Advanced formulation to reach full hardness.[1]
Paint Choice and the Cure-Time Trap
For the topcoat, use an enamel paint. Satin or semi-gloss finishes hold up better to contact than flat paint, and they're easier to clean. Benjamin Moore ADVANCE, Sherwin-Williams Emerald Urethane Trim Enamel, and Behr Urethane Alkyd Enamel are all cabinet-grade options available at US paint stores and home centers. Apply two to three thin coats with a foam roller and brush, sanding lightly between coats with 320-grit.
And here's the part most guides underplay: dry is not cured. Paint that feels dry to the touch after a few hours is still soft underneath. The finish develops hardness over days, not hours. Family Handyman recommends waiting a full week before reassembling and subjecting painted laminate to everyday wear.[3] Reattach drawer pulls and start loading drawers 24 hours after the final coat, and you'll leave fingerprints, dents, and scratches in the still-soft finish. But most people do.
There's a real downside case here. If the dresser lives in a bathroom, near a dishwasher, or in any high-humidity space, even properly prepped paint will degrade faster than expected. Moisture finds its way into micro-gaps around drawer edges and seams. For pieces in damp environments, consider that peel-and-stick vinyl wrap might actually hold up better. It creates a continuous, flexible membrane rather than a rigid paint film that can crack at joints. It looks worse at corners and lacks the painted-furniture feel, but it's faster, reversible, and costs roughly $30 for a full dresser versus $60 to $90 in paint and primer.
Sand every glossy surface with 220-grit until uniformly dull, prime with Zinsser B-I-N shellac primer in two thin coats, paint with an enamel in multiple thin layers, and wait a full week before use. That's the sequence. Skip any one of these four steps and the finish will fail at the weakest link. The edges and drawer fronts, where contact is highest, will go first. If you used the wrong primer, the paint will peel in sheets. If you skipped the cure window, the finish will dent and fingerprint. The difference between a custom-painted dresser and one you regret comes down to those seven days and that one can of shellac primer.