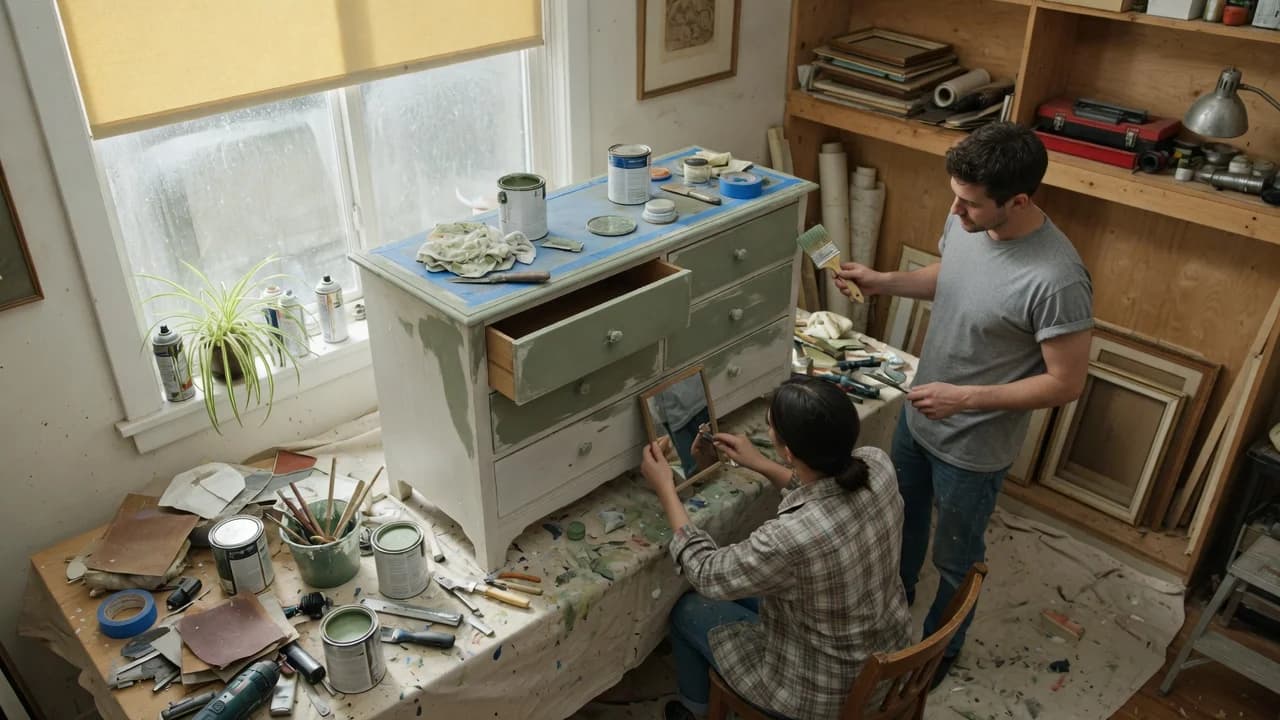
A dresser from Goodwill, $40, solid wood, good bones — and a factory finish so glossy you can see your reflection in it. You've already picked out the paint color. Now you're in the paint aisle staring at sandpaper grits and primer cans, trying to figure out which step you can skip.
The internet will tell you two things: sand it, or use a bonding primer. Neither answer is wrong, exactly. But both answers leave out the variable that actually decides whether your paint job lasts six months or six years. The variable nobody talks about is what that glossy surface is made of — and whether sanding it might release something you don't want in your lungs.
Here's the thing most guides won't say upfront: the sanding-versus-primer debate is built on a false choice. The right question isn't which one to do. It's what your specific piece of furniture requires — and that depends on the substrate, the finish chemistry, and the age of the piece.
Know What You're Painting Before You Touch It
Thrift-store furniture falls into three broad categories, and each one changes the prep math. Solid wood pieces — dressers, nightstands, dining chairs from the 1960s through 1990s — typically wear a lacquer or varnish topcoat. These finishes are glossy but porous enough that a scuff sand creates mechanical grip. Laminate and thermofoil pieces, the kind that dominated affordable furniture from the 1990s onward, are a different animal entirely. Their surface is plastic — melamine or vinyl — with zero porosity. Paint has nothing to bite into.
Most people ask, "Should I sand or prime?" The better question is what that glossy surface is actually made of — because laminate, lacquered wood, and lead-painted pieces each demand a different prep sequence.
Then there's the category most thrift-flippers overlook: pre-1978 furniture with potential lead paint. If the piece was built before the federal lead paint ban, sanding it dry sends lead dust airborne. The EPA recommends that anyone disturbing painted surfaces in pre-1978 homes use lead-safe work practices, including wet sanding and HEPA filtration.[1] A thrift-store dresser from 1972 isn't covered by the EPA's Renovation, Repair and Painting Rule the way a contractor's job would be, but the hazard is identical. You're still creating lead dust in your garage.
So before you reach for sandpaper or primer, figure out what the surface actually is. Run a fingernail across it. If it feels like plastic and has a photographic wood-grain pattern printed underneath, it's laminate. If it's cold, heavy, and has visible wood grain that doesn't repeat, it's solid wood. If there's no manufacturer stamp with a date and the piece looks mid-century or older, assume lead until you test it. Hardware stores sell 3M LeadCheck swabs for about $10.
What Sanding Actually Does (and Doesn't Do)
Sanding isn't about removing the old finish. That's the first misconception. On a glossy piece that's structurally sound, your goal is scuff sanding — creating microscopic scratches that give primer and paint something mechanical to grip. You're dulling the shine, not stripping to bare wood.
A 220-grit sanding sponge does this in about 10 minutes on a standard dresser. Go coarser than 150 and you'll leave visible scratch marks that telegraph through your paint. Go finer than 320 and you'll polish the surface instead of roughing it. The sweet spot is 180 to 220 grit, and you're done when the surface looks uniformly cloudy under a raking light.
The advantage of sanding: it's cheap, it works on almost anything that isn't plastic, and it doubles as surface prep for patching gouges with wood filler. The disadvantage: it's dusty, it's physical work, and if you're dealing with lead paint, it's dangerous without proper containment. Sanding also won't fix the adhesion problem on laminate. You can scuff laminate all day — the plastic is too dense and chemically inert for mechanical grip alone to hold paint long-term.
Most people assume sanding is the safe, traditional method and bonding primer is the shortcut. But on laminate, sanding without primer is the shortcut that fails. The surface feels rough enough, the paint goes on fine, and three months later it's peeling at the edges where drawers rub together.
When Bonding Primer Wins
Bonding primers don't rely on mechanical grip. They bond chemically. Shellac-based primers like Zinsser B-I-N use a resin system that etches into glossy surfaces at a molecular level. According to Rust-Oleum's technical data sheet for B-I-N, the product provides "excellent adhesion to glossy surfaces without scuff sanding."[2] That's a manufacturer claim, not a DIY forum opinion, and it comes with a specific chemistry: shellac dissolved in denatured alcohol, which flashes off fast and leaves a film that topcoats can lock onto.
Water-based bonding primers like INSL-X STIX and KILZ Adhesion work differently — they use acrylic-urethane resins that cross-link as they cure, forming a film that grips slick substrates. Benjamin Moore specifically recommends STIX for laminate furniture, noting that it "offers powerful adhesion properties to any surface, even shiny ones like laminate."[3]
The real choice isn't sanding or primer — it's whether your surface needs mechanical grip, chemical grip, or both.
So when does bonding primer win outright? Three situations.
| Scenario | Best Approach | Why |
|---|---|---|
| Laminate or thermofoil furniture | Scuff sand lightly (220 grit) + bonding primer | Plastic surfaces can't develop enough mechanical tooth from sanding alone |
| Intricate carvings, turned legs, or spindles | Bonding primer, minimal sanding on flat areas | Sanding every contour would take hours; primer reaches what sandpaper can't |
| Low-dust priority, no lead paint concerns | Bonding primer with thorough cleaning | Eliminates airborne dust when the surface is chemically bondable |
The catch: bonding primer is a bridge coat, not a filler. If your piece has dents, deep scratches, or chipped veneer, primer won't hide them. You still need to patch and sand those spots. And at roughly $25 to $30 a quart for B-I-N or STIX, it's pricier than a few sheets of sandpaper.
The Third Option Nobody Mentions
The advice that rarely appears in top search results: do both. Scuff sand first, then apply bonding primer. This is the belt-and-suspenders approach, and for pieces you care about, it's the closest thing to a guarantee.
The scuff sand creates physical texture. The bonding primer creates chemical adhesion. Together they cover each other's failure modes. If dust or oils compromised a spot during cleaning, the primer catches it. If the primer pools too thick in a corner and doesn't cure fully, the scuff underneath still gives the paint something to hold.
This combination matters most on two types of pieces: high-use furniture like kitchen tables and desk tops where elbows and coffee cups test the finish daily, and pieces where you're painting a light color over a dark stain — the primer blocks tannin bleed while the scuff prevents peeling at the edges.
The time math: scuff-sanding a dresser takes 10 to 15 minutes. Brushing on one coat of bonding primer takes another 15. You're adding maybe half an hour to a project that already spans a weekend with drying times between coats. The tradeoff is time against durability, and durability almost always wins when you've already invested in stripping hardware, cleaning, and buying paint.
When Neither Approach Is Safe
There's a specific scenario where both sanding and bonding primer are wrong answers: pre-1978 furniture with lead paint that's chipping, flaking, or in poor condition. The EPA's guidance for DIYers is clear: dry sanding lead paint creates hazardous dust.[1] Bonding primer applied over deteriorating lead paint doesn't encapsulate it permanently — it's a temporary seal that fails when the underlying paint continues to break down.
The University of Georgia Extension has flagged thrift-store furniture specifically as a lead exposure risk, noting that "worn, authentic look" finishes are often deteriorating lead paint by definition.[4] If the painted surface is already cracking or alligatoring, no primer will stabilize it.
Your move here depends on what you find. If a lead test swab comes back positive and the paint is intact and smooth, wet-sanding with a damp sponge (keeping the surface wet to suppress dust) followed by shellac-based primer is the least-risky path. Shellac primers are used in professional lead encapsulation systems specifically because they seal so aggressively. If the paint is already failing — chips, flakes, powder — that piece isn't a weekend project. It's a hazardous material. Either have it professionally stripped or pass on it entirely. No $40 dresser is worth lead dust in your home.
Before you start, check: Surface material (wood vs. laminate), piece age (pre- or post-1978), paint condition (intact vs. failing), lead test result if pre-1978, and whether the piece has damage requiring filler.
Before you leave the hardware store, grab 220-grit sandpaper and a quart of shellac-based bonding primer. The two together cost under $40, and having both means you can adjust your approach after you test the surface at home.
Same day: test for lead if the piece is pre-1978 using a store-bought swab. If negative, clean the surface with a degreaser, scuff-sand until uniformly dull, wipe down with a tack cloth, and apply one thin coat of bonding primer. You'll know within 45 minutes whether the primer has gripped — run a fingernail across a dried test spot. If it scratches off, the surface needs more scuffing.
Within the week: after your topcoat cures, check the high-wear areas — drawer edges, tabletop corners, anywhere two surfaces meet. If paint lifts at those contact points, it wasn't an adhesion problem with the primer. It's mechanical wear, and your next piece gets sanding plus primer regardless of what the surface looks like.
The pieces that fail aren't the ones where people chose the wrong method. They're the ones where people chose a method without first figuring out what they were painting. Spend 10 minutes diagnosing the surface. It costs nothing and it's the only step in this whole process that actually predicts whether your paint job will last. And if you skip it, you'll find out exactly how long paint adheres to unanswered questions — usually about three months.