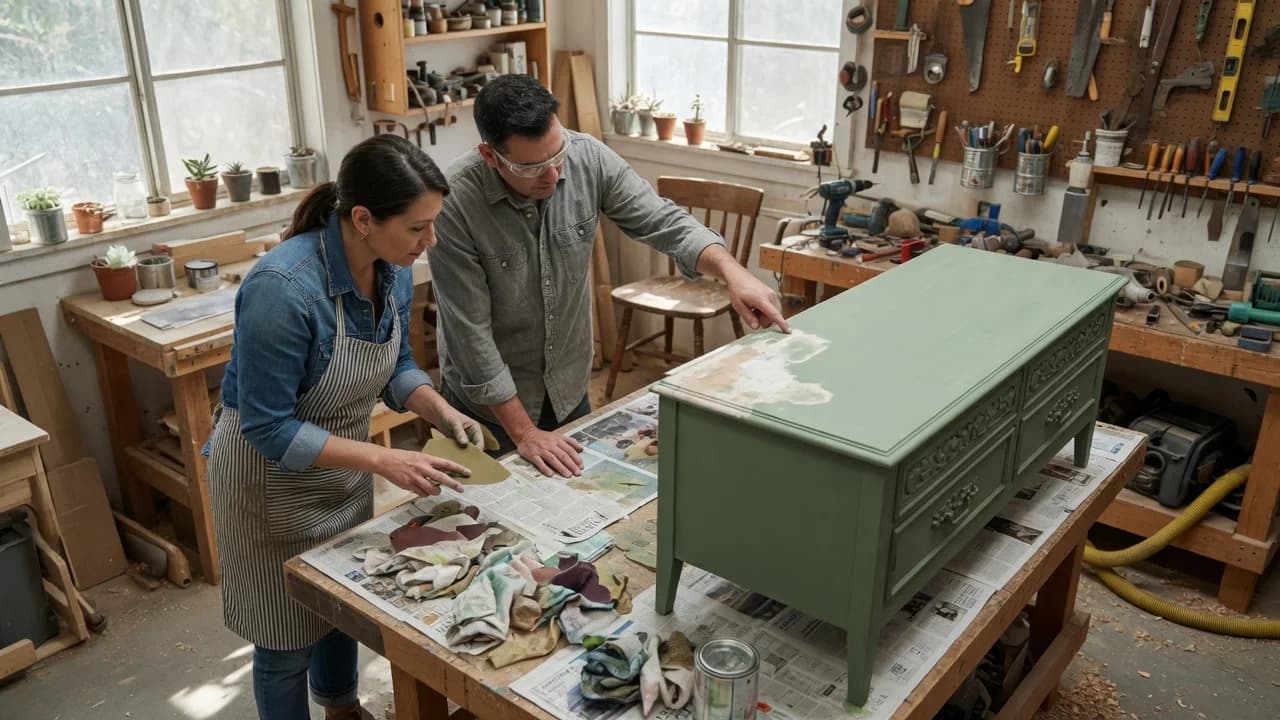
Furniture refinishers will tell you to test the original finish before you even open a can of sealer, and there's a reason for that. Sealing painted thrift furniture so it survives daily use isn't about buying the most expensive topcoat. It's about whether the sealer can bond to whatever finish is already on the piece, and most secondhand furniture arrives with an unknown base that standard advice ignores.
The tension most people miss: the product you choose matters less than whether it can grip what's underneath. Thrift pieces carry decades of layered finishes. Wax, lacquer, old varnish, silicone polish. If your sealer can't adhere to that substrate, it'll peel in sheets within weeks regardless of what you paid for it.
What you're dealing with isn't a paint problem. It's an adhesion problem that starts before the sealer touches the surface. The right answer depends on the original finish, how you prep, and which sealer chemistry can bridge the gap. One of those variables gets skipped in almost every generic sealing guide, and it's the one that causes most failures.
Why Your Sealer Failed
Sealers don't fail because they're weak. They fail because the bond between the sealer and the paint, or between the paint and the original finish, breaks under stress. On thrift furniture, three culprits cause nearly all failures.
Wax is the first and worst. Furniture wax, paste wax, and spray polish containing silicone leave a residue that prevents any film-forming sealer from bonding. Mineral spirits rubbed on an inconspicuous spot will tell you in 30 seconds: if the cloth picks up a waxy film, wax is present[4]. You cannot seal over wax. The sealer will sit on top like plastic wrap on glass and peel at the first knock.
Lacquer is the second landmine. Many mid-century and vintage pieces were finished in nitrocellulose lacquer. Oil-based polyurethane can soften and lift lacquer as it cures because the solvents in poly attack the older film. The result looks like the sealer failed, but the original finish underneath delaminated. Water-based sealers largely avoid this reaction.
And the third, most common among beginners: skipping scuff-sanding. Paint dries smooth. A sealer needs mechanical tooth to grip. No scuff means no adhesion at the microscopic level, and the edges start lifting within months. Minwax specifies 220-grit for this step on every can[1]. It's not optional.
Prep Before You Seal
You can skip almost any step in a furniture refinishing tutorial and still get a decent-looking result for a few weeks. Prep is the one you can't skip. The sealer reveals every shortcut.
Start with the mineral spirits test. Rub a small amount onto a hidden area with a clean white cloth. Wait 30 to 60 seconds. If the cloth shows waxy residue, you've got wax contamination and the piece needs a mineral spirits scrub, followed by acetone passes, before anything else happens[4]. Sanding wax pushes it deeper into the grain. Don't do it.
Once you're confident the surface is wax-free, clean it with a degreasing solution. Decades of cooking grease, furniture polish, and skin oils create a film that interferes with adhesion. A TSP solution or Krud Kutter, rinsed thoroughly, is what you want.
Then scuff-sand the entire painted surface with 220-grit sandpaper. You're not removing paint. You're dulling the sheen evenly so the sealer has something to hold. After sanding, check for shiny spots. If you see one, keep going. Vacuum thoroughly, then wipe with a damp lint-free cloth and let the surface dry for 10 minutes. That's your substrate. That's what the sealer will actually bond to.
Durability isn't about the sealer you choose; it's about what the sealer is trying to hold onto.
Pre-seal verification: Cloth passes mineral spirits test with no waxy transfer. Surface feels uniformly dull, no shiny patches. Tack-cloth wipe complete. Paint fully cured, not just dry. Room temperature above 65°F, humidity below 70%.
Choosing a Sealer for an Unknown Substrate
Put more precisely: most durability advice assumes you're sealing over raw wood or a known finish you applied yourself. With thrift furniture, you're sealing over an unknown. That changes the recommendation.
Over painted thrift furniture where the original finish beneath the paint is unknown, water-based sealers are the safer default. They don't contain the aggressive solvents that oil-based products use, so they're far less likely to react with whatever finish is hiding under your paint. This isn't about durability in the lab. It's about compatibility in the real world.
Here's how the options stack up for painted furniture that will see daily handling:
Sealer selection turns on use, substrate risk, and patience.
| Sealer Type | Durability | Over Unknown Substrate | Cure Time | Ambering |
|---|---|---|---|---|
| Water-based polycrylic | Moderate | Safest — no solvent reaction | ~7 days | None |
| Water-based polyurethane | High | Safe — low solvent risk | 7–21 days | Slight |
| Oil-based polyurethane | Highest | Risky — can lift lacquer | ~30 days | Noticeable amber |
| Paste wax | Low | Safe but offers minimal protection | 1–2 days | None |
The contrarian point worth stating: oil-based polyurethane isn't always the most durable choice for thrift furniture. Over an unknown lacquer-based original finish, the harder film can crack and delaminate because the two layers expand and contract at different rates. A slightly softer water-based film that flexes with the substrate will outlast a brittle one that doesn't. This Old House notes polycrylic won't amber over light colors either, which matters if you painted the piece white or pastel[3].
The hard exception: if your mineral spirits test revealed wax and you couldn't fully remove it, no sealer bonds reliably. At that point you either strip the piece completely or you accept that the finish will wear. Some pieces with deep wax penetration into the grain simply can't be sealed with a film-forming topcoat. That's uncommon but real. If the cloth keeps picking up residue after three mineral spirits passes, you're in that territory.
The Application and Cure Reality
Most people apply sealer too thick and use the piece too soon. Both mistakes produce the same outcome: a finish that looks fine for two weeks, then starts failing at the edges.
Apply thin coats. Dip the first third of your brush into the sealer, tap off the excess, and lay it down in long overlapping strokes. The goal is coverage, not thickness. Three thin coats will always outperform one thick one. Between coats, scuff lightly with 220-grit after the sealer has dried enough to produce a fine white powder when sanded. That's usually 2 to 4 hours for water-based products, 4 to 6 for oil-based[1]. If the surface feels gummy when you sand, it's not ready.
Now the part nobody talks about: cure time versus dry time. Dry means you can touch it. Cured means the finish has reached full hardness. Water-based polycrylic dries to the touch in about 2 hours but needs roughly 7 days to fully cure. General Finishes specifies a 21-day cure for its High Performance water-based polyurethane topcoat[2]. Oil-based polyurethane takes 30 days to reach maximum hardness. During that cure window, the finish is vulnerable. Rings from water glasses, scratches from keys, dents from anything heavy. You can use the piece lightly after 24 to 48 hours, but treat it gently for the full cure period.
And here's what happens if you ignore the cure time: the finish never reaches its designed hardness. It stays soft, picks up scratches, and eventually fails at contact points. You'll blame the sealer, but the sealer never got a fair chance.
Making It Last
Before you do anything else, test for wax with mineral spirits on a hidden spot. Do that tonight. If wax is present, you know the piece needs stripping, not sealing, and you haven't wasted a weekend.
Once wax is ruled out, clean the surface with a degreaser, scuff-sand every square inch with 220-grit, and vacuum thoroughly. That's your same-day move. Then choose a water-based sealer. Polycrylic if the piece will see moderate use and you want no ambering. A water-based polyurethane like General Finishes High Performance if it's a tabletop or chair that'll take real abuse. Apply three thin coats with light sanding between each.
Then wait. Not 24 hours. Give water-based sealers a full week of light use only, and closer to three weeks before the piece sees daily heavy handling. For oil-based, it's a month. The difference between a finish that lasts five years and one that fails in five months is usually measured in patience, not product quality.