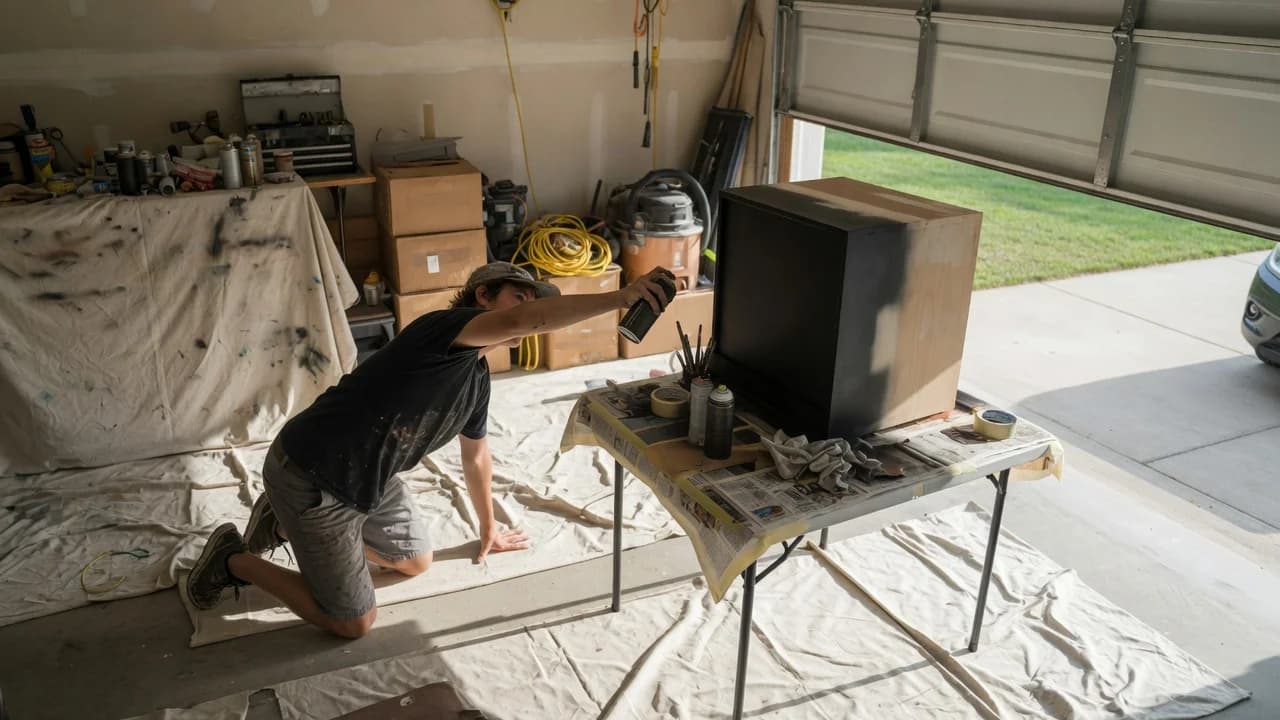
Can a $5 thrift-store side table look like a $200 boutique piece with a single rattle can, or are you better off with a brush and a quart of enamel? The question sounds simple. It isn't. The answer turns on three things most first-time flippers don't consider until they're staring at a half-painted leg: the contours of your table's surface, where you'll be working, and what you're willing to sand off when it goes wrong.
Most comparison articles bury these variables under a generic pros-and-cons list and call it a day. But if you're standing in the paint aisle with your phone out, you don't need a tie. You need a decision rule. Spray and brush are both capable of a good finish. They fail in completely different ways, and your table picks which failure you'll face.
The gap that catches beginners: the best method for a flat tabletop is often the worst choice for the legs. Most small tables force you to paint both surfaces with a single technique, and the mismatch is where things come undone.
A spindle-legged accent table and a slab-top nightstand demand opposite approaches. So does painting on a balcony versus painting in a garage. Your table and your workspace pick the method. You just need to know how to read them.
What Kind of Table Are You Flipping?
Before you reach for a paint can, look at what you're actually painting. Surface geometry is the variable that most determines whether spray or brush-on paint will work for you. Ignore it and you've already decided how the project ends.
Tables split into two camps. Camp one: mostly flat surfaces. Parsons tables, slab-top coffee tables, mid-century nightstands with clean lines. A brush covers these efficiently. The uninterrupted planes give you room to lay down long strokes without dodging anything. A foam roller on the flat top followed by a brush on the edges delivers speed and control in one workflow.
Camp two: complex surfaces. Spindle legs, turned details, routed edges, slats, cane webbing, ornate trim. A brush on these means chasing paint into crevices, loading too much product into corners, and watching strokes pile up on curves. Spray paint reaches every surface at the same film thickness, without the brush needing to touch anything. This Old House recommends a consistent 6- to 8-inch spray distance for even atomization on detailed wood furniture.[1]
Now the catch: most small tables have both a flat top and detailed legs. That's a genuine conflict. Spray paint handles the legs beautifully but risks an uneven finish on a large flat top if your hand speed isn't steady. Brush paint gives you a clean top but turns the legs into a tedious slog. Pick the method that serves the hardest surfaces on the piece, then adapt for the rest.
Spray Paint vs. Brush-On: How They Actually Compare
Strip away the marketing. Spray paint atomizes the coating into a fine mist that settles as a thin, uniform film. Brush-on paint transfers a thicker wet layer that must level out before it cures. Each rewards a different skill, and for a beginner working on a small table, the differences that matter are practical, not chemical.
The comparison reduces to a handful of variables that control the outcome regardless of brand or color.
| Factor | Spray Paint (Aerosol) | Brush-On Paint |
|---|---|---|
| Finish smoothness | No brush marks. Glass-smooth when technique is right. | Visible strokes unless using self-leveling paint and thin coats. |
| Surface reach | Excellent. Covers spindles, grooves, and carvings evenly. | Poor on complex surfaces. Paint pools in corners and details. |
| Coverage per unit | 8–12 sq ft per 12 oz can.[3] | Roughly 75–100 sq ft per quart on wood. |
| Workspace | Outdoors or well-ventilated space mandatory. Overspray travels farther than you think. | Indoors OK. A drop cloth handles any drips. |
| Learning curve | Steep first 10 minutes. Distance, speed, and overlap must be dialed in fast. | Gentle start. Mastering a smooth finish takes practice and patience. |
| Recoat time | Fast. Often under 30 minutes between coats. | Slower. 1–4 hours depending on paint and conditions. |
| Cost for a small table | $12–$24 (2–3 cans at $6–$8 each) | $18–$35 (quart of paint plus brush and roller) |
The dollar difference is negligible. A typical nightstand runs about 8–10 sq ft of total paintable surface, which puts you at roughly two spray cans or about one-eighth of a quart. Cost shouldn't drive the decision.
The reframe: the choice isn't spray versus brush. It's which failure mode you'd rather manage. Spray paint fails by dripping, orange-peeling, or drifting onto surfaces you never intended to paint. Brush paint fails by leaving visible stroke marks, especially on dark colors and high-sheen finishes. Both failures are fixable with sanding and a re-coat. But you'll want to know which one you're temperamentally equipped to handle at 10 p.m. when this table needs to be done.
That framing misses something. The sharper question is which method sets you up to fail less on your specific piece. If your table has even one spindle or turned leg, spray paint wins outright, because the brush alternative guarantees frustration on those surfaces. If your table is a simple flat-sided box with four straight legs, you can get an excellent result with either method. At that point workspace and patience become the tiebreakers.
The Workspace Factor
Spray paint needs space. Not a lot of it, but the right kind. The solvents in aerosol paint are volatile, and the overspray cloud travels farther than most beginners expect. Family Handyman notes that proper ventilation and a respirator are non-negotiable when spraying indoors, and that working outside remains the safer default.[2]
If you're working in an apartment, a condo balcony, or any rented space without a garage, spray paint becomes genuinely difficult to use safely and cleanly. The fumes linger. The mist settles on nearby surfaces as a fine dust you won't notice until it's dry and permanent. You can build a makeshift spray booth from cardboard and drop cloths, but at some point you're engineering around a constraint that brush-on paint simply doesn't have.
This is the boundary where spray paint stops being the right answer regardless of what your table looks like. A table with spindle legs is annoying to brush-paint. But it's still doable. Spraying lacquer in a studio apartment with the windows closed is not just annoying. It's a bad decision, full stop.
There's another angle here too. Even with outdoor access, spray paint underperforms on very large flat surfaces. If your "small table" is actually a 40-inch dining table, the math shifts. Maintaining consistent distance and overlap across a 6-square-foot flat top with a rattle can is harder than it sounds. Beginners tend to drift closer in the middle of a pass and create heavy spots. Brush-on paint with a foam roller produces a more uniform result on large flats with less technique. So if your tabletop is wider than about 2 feet in any dimension, consider splitting the job: spray the base, brush-and-roll the top.
Prep: The Step Beginners Skip
The method you choose dictates your technique. But prep is what determines whether the paint sticks. The cleanest application in the world won't save paint applied to a greasy, glossy, unsanded surface. And beginners skip prep more than any other step because it's invisible work with no immediate payoff.
For any paint to bond, the surface needs three things: cleanliness, mechanical grip, and a sealed substrate. A degreaser like Krud Kutter or a TSP solution removes furniture polish residue and hand oils. Light sanding with 220-grit gives the new paint something to bite into. One coat of primer seals the wood so the paint doesn't absorb unevenly into the grain. This Old House recommends scuff-sanding between coats with 220-grit as well, particularly when spraying multiple layers.[1]
For brush-on paint, you have one additional variable that trips up beginners: paint selection. Wall paint is formulated for drywall. It doesn't level, it doesn't cure hard, and it broadcasts every brush stroke. Furniture needs self-leveling enamel or cabinet-grade paint. Different chemistry, different result.
Before you open a can, answer these four questions:
- Is the surface clean? Wipe with degreaser or TSP. Paint won't bond to furniture polish.
- Is the surface scuffed? 220-grit over the entire piece. You're not stripping. You're creating grip.
- Are you priming? One coat of hardware-store primer rated for your material. Let it dry completely.
- Did you match the paint to the job? Spray: enamel or lacquer. Brush: self-leveling furniture paint or cabinet enamel. Not wall paint.
If any answer is no, stop and go back. The extra 30 minutes of prep is cheaper than stripping a failed paint job and starting over. You'll learn this the easy way or the hard way.
Start right now: pull your table into good light and run your hand over every surface. If you feel turned details, grooves, or spindles, buy two cans of spray enamel and a roll of painter's tape. If every surface is flat and reachable, buy a quart of self-leveling furniture paint, a synthetic-bristle brush, and a foam roller.
Same day: clean that table. Degrease it, sand it with 220-grit, wipe the dust off with a tack cloth. Primer goes on next. This is the work that determines whether your paint job lasts six months or six years.
This week: apply your paint in thin coats. If you're spraying, keep the can moving. Hesitations cause drips. If you're brushing, load the brush lightly and finish every section with one long stroke in the grain direction. Let each coat dry fully. Sand lightly between coats if the surface feels rough. Two thin coats beat one thick one every time.
Ignore any of these steps and you'll end up with a table that looks exactly like a beginner painted it. Follow them and you'll have a piece that makes people ask who did the work. That's the whole game.