A peel-and-stick backsplash kit for a rental kitchen runs between $40 and $150. That number hides everything that determines whether you'll be replacing it in six months or leaving it up at move-out two years later.
Renters see peel-and-stick tile and think: quick fix, no damage, deposit safe. The packaging promises removable adhesive and renter-friendly installation. What the packaging won't show you is the corner lifting three weeks in, or the paint that comes off with the tile when removal day finally arrives.
Here's the tension: most products in this category are marketed as renter-friendly, but the adhesive strong enough to keep tiles on a vertical wall for years is also strong enough to strip paint on the way out. An Apartment Therapy reviewer discovered this immediately. Repositioning a single tile took paint chips with it.[1] That contradiction sits at the center of every decision you'll make about this project.
Whether it works out depends on what sits behind your stove, how much steam your kitchen produces, and whether you seal the edges before you call the job done.
The Real Problem With Rental Tile
You cannot demo it. Your landlord will not replace it. And you look at it every single day.
Builder-grade ceramic tile from 2003, or that pinkish-beige square that some previous owner thought was timeless. The backsplash is the hardest surface in a rental kitchen to ignore and the hardest to change without permission. Most peel-and-stick advice online skips the part where these tiles fail predictably — and where they don't — based on conditions you can control before the first tile goes up. Paint is out because tile paint needs etching primer and a landlord who says yes. Real tile replacement means a contractor, a lease violation, and almost certainly a lost deposit.
So peel-and-stick looks like the answer. Slap it on. Enjoy it. Peel it off when the lease ends.
The gap between how that sounds and how it actually plays out is where most of the disappointment lives.
How Peel-and-Stick Backsplashes Actually Fail
These products do not fail randomly. They fail in three predictable ways, and knowing them before you open the box changes what you buy and how you install it.
Moisture is the first killer. Water seeps under unsealed edges, especially along the bottom row where the tile meets the countertop. Once the adhesive gets wet, the bond weakens and the edge curls. A curl becomes a gap. The gap lets in more water. Within weeks, a tile that looked perfect has peeled halfway off. This happens fastest behind the sink and next to the dishwasher vent.
Heat comes second. Standard vinyl peel-and-stick tiles tolerate temperatures up to roughly 120°F to 140°F before the adhesive softens and the material warps, according to Family Handyman.[2] The wall behind a gas range can hit 180°F to 220°F during normal cooking. You don't need a fire to ruin the tiles. Sustained radiant heat from daily dinner prep is enough to yellow them, curl the edges, and permanently degrade the bond.
Surface texture is the third. Adhesive bonds to smooth, clean surfaces. Rental tile often has uneven glaze, grout lines with recessed troughs, or years of grease buildup that degreaser alone cannot fully strip. The tile does not stick where it cannot make full contact. You'll notice this first along grout lines, where the peel-and-stick product bridges a small valley instead of adhering to a flat plane.
The three failure triggers are well-documented. But listing them makes the problem sound like a checklist you can solve with a single trip to the hardware store. The better question is whether your actual kitchen conditions overlap with the failure triggers at all. If they do, no amount of surface prep eliminates the risk. If they don't, even budget tiles can last years.
Where They Hold Up, and Where They Don't
The pattern is straightforward. Dry and stable equals durable. Wet and hot equals trouble.
Where peel-and-stick backsplash typically lasts 2+ years:
- Dry wall sections away from the sink and stove
- Kitchens with electric or induction cooktops and a backguard
- Over smooth, non-porous existing tile cleaned with TSP or degreaser
- Installations with silicone-caulked bottom edges and seams
Where it typically fails within 6-12 months:
- Directly behind a gas range without a raised backguard
- Adjacent to a sink with daily splashing and no edge seal
- Bathrooms with poor ventilation and daily steam accumulation
- Over textured, porous, or heavily uneven existing tile
Better Homes & Gardens notes that peel-and-stick backsplash installed correctly and kept away from continual water exposure should last at least five years.[3] The key words are "kept away from continual water exposure." Most rental kitchens put the backsplash directly in the splash zone. Real-world performance in a working kitchen typically lands closer to two to four years before edge wear becomes visible.
The Installation Step Most Kits Skip
A peel-and-stick backsplash isn't a tile replacement. It's a long-term decal that lives or dies by its edges.
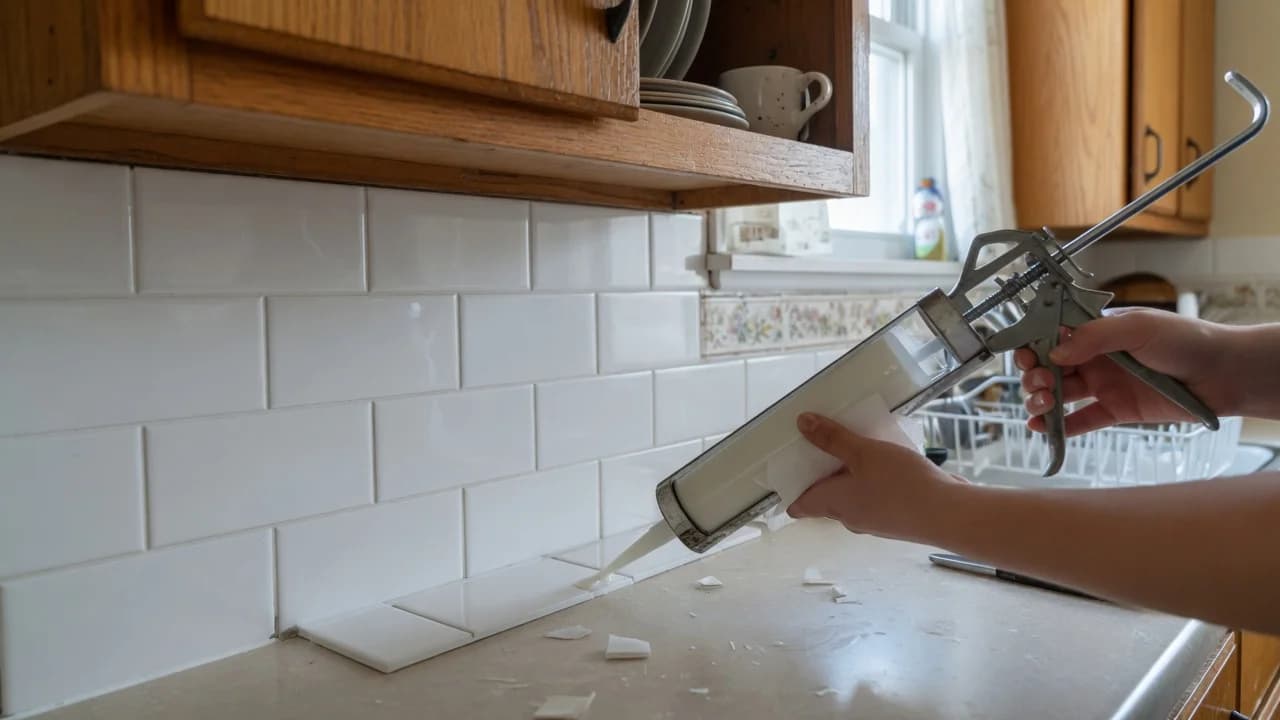
Manufacturers spend pages telling you to clean the wall. Almost none tell you to seal the perimeter when you're done. But that bottom edge, where tile meets countertop, is the single highest-risk seam in the entire installation. Water runs down the wall and pools right there.
Run a thin bead of 100% silicone caulk along that bottom edge. Do the same along any vertical edge that meets a sink or stove area. The caulk is clear, costs about $8 a tube, and takes ten minutes to apply. It transforms the installation from water-resistant to genuinely splash-proof in the zones that matter.
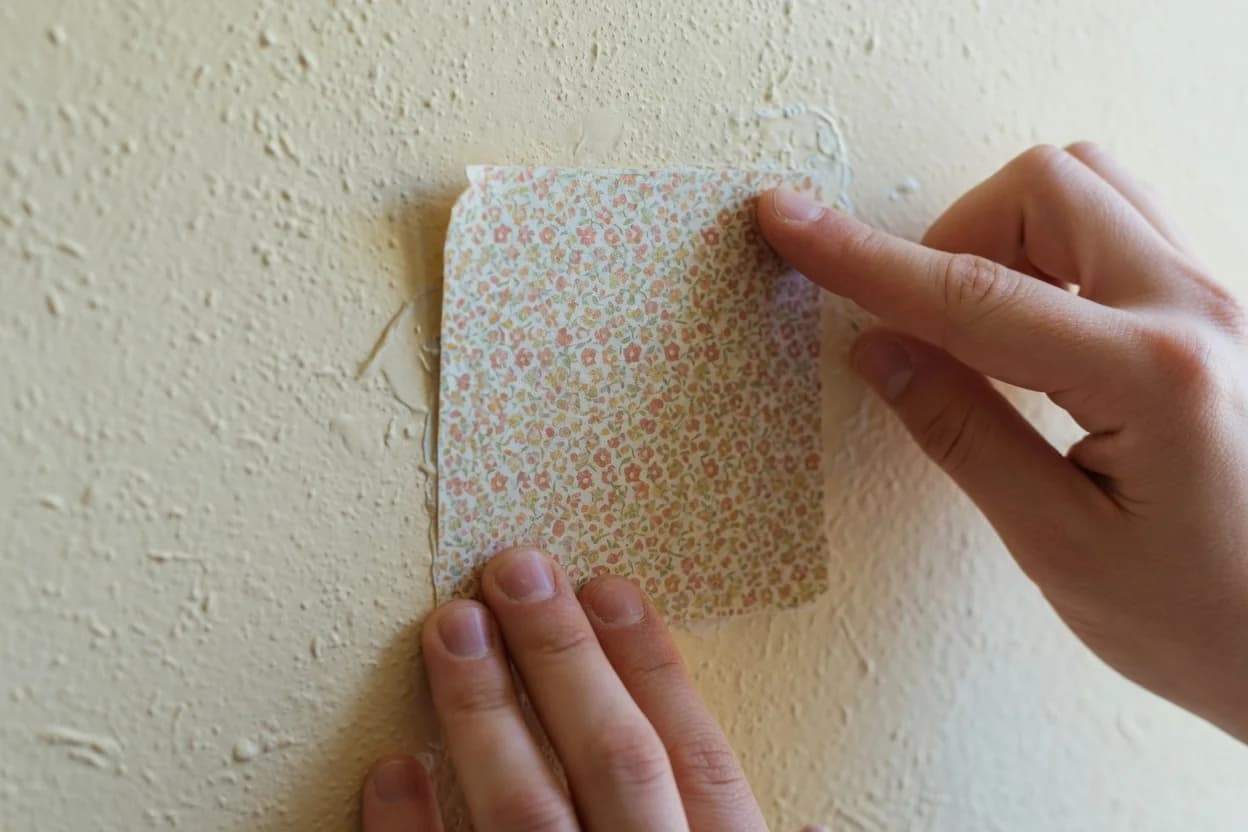
If you're worried about removal damaging the original tile, there is a workaround that virtually no product manual mentions. Apply a layer of removable contact paper or peel-and-stick wallpaper to the original backsplash first, then apply your tiles on top. The tile adhesive bonds to the contact paper, not to the landlord's surface. At move-out, you peel off the contact paper and the original tile is untouched. It adds an hour and about $15 in material cost.
When a Peel-and-Stick Backsplash Is the Wrong Call
Some situations make the product a bad bet regardless of how carefully you install it.
Skip peel-and-stick entirely if you have a gas stove with no raised backguard. The radiant heat will kill the adhesive and possibly warp the tile material. A stainless steel splash panel mounted behind the stove costs less than replacing melted tiles.
Skip it if your bathroom has no exhaust fan. Daily shower steam condenses on walls and works its way into every unsealed seam.
Skip it if your existing tile has a heavy texture, a deeply recessed grout line wider than 1/8 inch, or a surface that feels rough to the touch. The adhesive cannot bridge those gaps consistently. Partial adhesion is the fast track to peeling.
Here is a rough calculation worth doing before you buy: a typical security deposit runs one month's rent. Nationally, that lands somewhere between $1,200 and $1,800 for a one-bedroom. Your $60-to-$150 backsplash project represents 5 to 10 percent of that money. The product cost is not the real expense. The deposit risk is.
Decision checklist before you buy:
- Can you run your hand across the existing tile and feel a smooth surface?
- Is your stove electric or induction, or does your gas range have a metal backguard?
- Are you willing to caulk the bottom edge and any vulnerable seams with silicone?
- Would your landlord notice, and if they did, would it violate your lease?
If you answered no to any of the first three, the odds are against you. If you answered no to the fourth, get written permission or skip the project entirely.
If your kitchen has an electric stove, smooth existing tile, and you seal the edges with silicone caulk, a peel-and-stick backsplash will probably look good and stay put for two to five years. Remove it slowly with a hairdryer and go easy on the paint.
If you have a gas range with no backguard, a steamy bathroom, or textured tile, skip the peel-and-stick category. The product was not designed for those conditions, and no amount of careful installation changes the physics.
If you are somewhere in the middle — electric stove but an old tile surface you are nervous about — try the contact paper underlay. It costs almost nothing and eliminates the biggest single risk: damaging the original surface and kissing your deposit goodbye.