The standard advice about keeping kitchen counters bare is backwards for anyone renting a small apartment. You don't have a pantry. You don't have a utility closet. What you have is about 25 inches of counter depth and maybe six feet of total length split across two sections, with a lease that says no drilling, no painting, no permanent anything. So the real question isn't how to clear your counters. It's how to make what has to live there earn its square footage.
The tension is this: you need things within reach to cook efficiently, but every item on the counter makes the kitchen feel smaller and messier. Most organizing advice treats those as competing goals. They aren't.
The Real Constraint Isn't Clutter, It's the Lease
The problem isn't just that you have too much stuff. It's that standard organizing advice assumes you can drill into walls. Standard kitchen counters in U.S. homes are built 25 inches deep, with a one-inch overhang beyond the 24-inch base cabinet, according to industry guidelines referenced by the American National Standards Institute.[1] That's the full-size standard. Rental apartments and older buildings often come in under that.
Your lease prohibits drilling, mounting, painting, or installing anything that leaves a mark. So the usual suggestions (floating shelves, wall-mounted rails, under-cabinet lighting) don't apply. You're working with a horizontal surface that can't expand outward and walls that can't accept permanent fixtures.
That framing misses something. The constraint isn't that you can't install things. The constraint is that you can't install permanent things. The difference matters because a whole category of renter-friendly hardware exists specifically for this problem. Adhesive hooks and strips designed not to damage walls[2] let you mount lightweight shelves, rails, and organizers without touching the lease. Over-cabinet door racks and tension rods add storage without any adhesive at all. The tools exist. You just need to know which ones to reach for.
What Actually Belongs on Your Counter
Before you organize anything, you decide what stays. Most people skip this step and just shuffle things around, which is why the counter looks the same two weeks later.
The rule that actually works: if you use it every single day, it earns counter space. A coffee maker you run every morning stays. The stand mixer you pull out twice a month does not.
But here's where the usual advice falls apart. It tells you to put everything away as if your cabinets are half empty. In a tiny rental kitchen, your cabinets are already full. You know this. You've tried shoving things in there. So the second rule is: some things will live on the counter. Accept it. The goal isn't a bare counter. The goal is to make what sits there look intentional, not like it's waiting to be put away.
Daily-use items that typically earn counter space: coffee maker or kettle, dish soap and sponge, cooking utensils in a crock, a small tray for oils and salt, maybe a knife block if drawer space is tight. That's five or six items max. Everything else gets relocated vertically.
The Vertical Strategy
You can't build out. You can build up. In a rental, building up means adhesive, tension, and freestanding solutions.
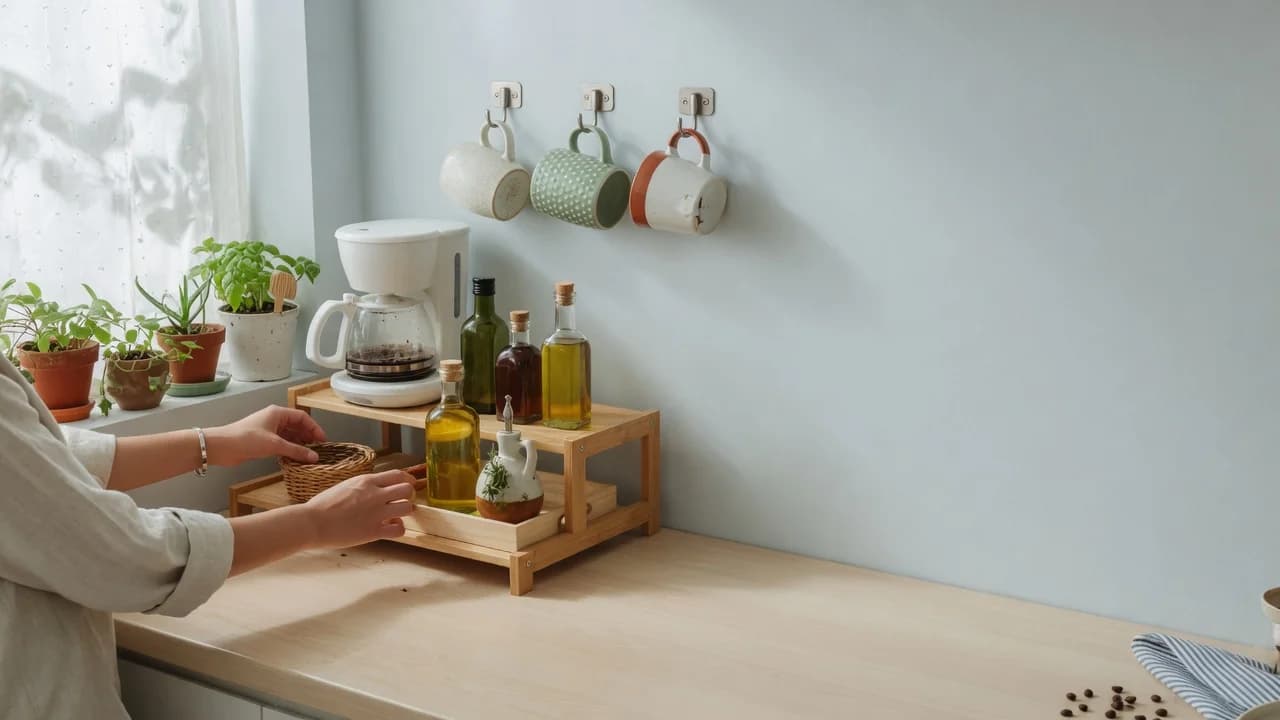
Start with the wall behind your counter. Adhesive hooks rated for 5 to 7.5 pounds[2] will hold a lightweight rail for utensils or hooks for mugs and measuring cups. The key is staying under the weight rating and following the surface-prep instructions: clean with rubbing alcohol, press firmly for 30 seconds, wait an hour before loading. Skip those steps and the hook fails. That's not the product's fault.
Next, the inside of cabinet doors. Over-the-door racks hook onto the top of the door and add storage for spices, wraps, or cleaning supplies. No adhesive. No tension. They just hang there. These are the safest rental option available.
Under the upper cabinets, battery-operated LED puck lights mounted with adhesive strips create the impression of intentional design. A tension rod placed between two upper cabinets or between the counter and the underside of a cabinet creates instant hanging storage for spray bottles or dish towels.
If you do nothing else: add a two-tier counter riser shelf. This is a freestanding unit that sits on your existing counter and creates a second level. Put your daily-use tray underneath, your coffee setup on top. You've doubled usable surface without a single hole. I'd start with this one.
Making Storage Look Intentional
Here's the part a lot of organizing guides skip: functional storage can look good. The difference is usually one decision: matching containers.
Your countertop isn't just a work surface. It's the most visible horizontal plane in your kitchen. When someone walks into the room, the counter is what they see. So every object sitting there is either contributing to the look or subtracting from it.
Functional storage and styled surfaces aren't competing goals; they're the same goal reached from different directions. Decant dish soap into a glass bottle with a pump. Put cooking utensils in a ceramic crock that matches the room, not the plastic container they came in. Use a small wooden or marble tray to corral salt, pepper, and cooking oil into one defined zone. When items share a container or a tray, the eye reads them as one object instead of five separate pieces of clutter.
Adhesive hooks now come in brushed nickel, satin brass, and matte black finishes[2] that look like permanent hardware. They cost maybe $3 more per hook than the white plastic versions and they change the entire feel of the wall behind your counter.
One more thing worth spending on: a slim rolling cart. Position it next to the counter or between the fridge and the wall. It adds storage without claiming counter real estate, and it rolls out of the way when you need floor space back. Not glamorous. Effective.
When This Strategy Falls Short
This approach works for most rental kitchens. But not all.
If your total counter length is under four feet, you may not have enough surface to organize and still prep food. At that point, the priority shifts from styled organization to functional workspace. Use a rolling cart as your primary prep surface and keep the built-in counter for appliances only. The cart becomes the workhorse. The counter becomes the display.
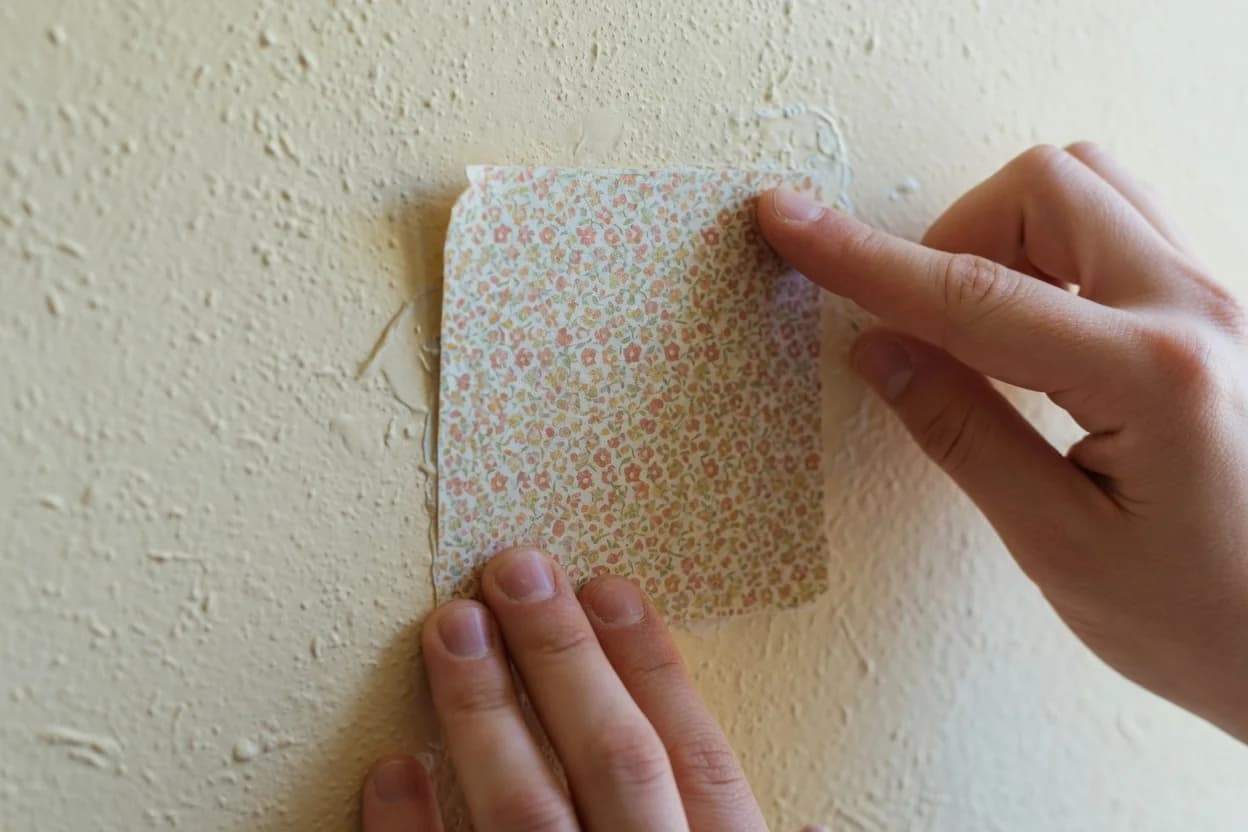
The other failure condition: textured walls. Adhesive strips need a smooth, non-porous surface to bond properly. Painted brick, heavily textured plaster, or peeling paint will cause them to fail, sometimes pulling paint with them. Test one strip in an inconspicuous spot before committing to a full setup. If it doesn't hold, freestanding solutions (tiered shelves, rolling carts, over-the-door racks) become your only option.
And if your kitchen has zero wall space adjacent to the counter, a problem in galley layouts with windows or pass-throughs, the vertical strategy shrinks to what fits under cabinets and inside cabinet doors. It still works. It just works slower.
What happens if you ignore all of this? The kitchen keeps functioning. But you lose usable prep space inch by inch, and the visual noise builds a low-grade friction that makes cooking feel like a chore you're tolerating rather than something you might actually enjoy. You're paying for those square feet. Make them work.
If your counter is over four feet long with smooth walls nearby, start with the tiered riser shelf and decorative adhesive hooks. Those two changes reclaim roughly 30% more usable surface while keeping your deposit safe.
If your counter is under four feet, skip the styling step. Buy the rolling cart first. Use it as your prep surface. Organize the built-in counter around appliance access only.
If your walls are textured or you have no wall space, go all-in on freestanding and over-the-door solutions. You'll need two or three pieces instead of one or two, but the principle doesn't change: every item on your counter should be there because you touch it daily and it has a designated home.