The standard advice on warming up a rental kitchen starts with peel-and-stick backsplash. For a builder-grade white kitchen, that's the wrong first move. What you notice first isn't the backsplash. It's the 4000K overhead light, the chrome contractor-grade hardware, and the total absence of anything soft underfoot. Fix those three things and the room shifts before you've spent $40.
The catch: the changes with the most power are what a standard US lease prohibits. And renter-friendly alternatives can look worse than doing nothing after three months.
That framing misses something. The real question isn't what your lease allows. It's whether your landlord will ever notice. Plug-in under-cabinet lights, swapped knobs in a ziplock bag, a washable runner: none of these register as modifications. Peel-and-stick is adhesive on paint, and it warrants different caution. Getting the order right changes which risks you actually need to take.
Start With What You Don't Need Permission For
A builder-grade white kitchen feels cold primarily because of its light, not its color. Most apartment kitchens ship with a single flush-mount ceiling fixture running a 3500K to 4000K bulb. That's office-building spectrum. Swapping to 2700K or 3000K costs about six dollars and takes thirty seconds. What you'll notice immediately is that the same white cabinets read as warm cream instead of clinical. It's the highest-impact change per dollar in the room.
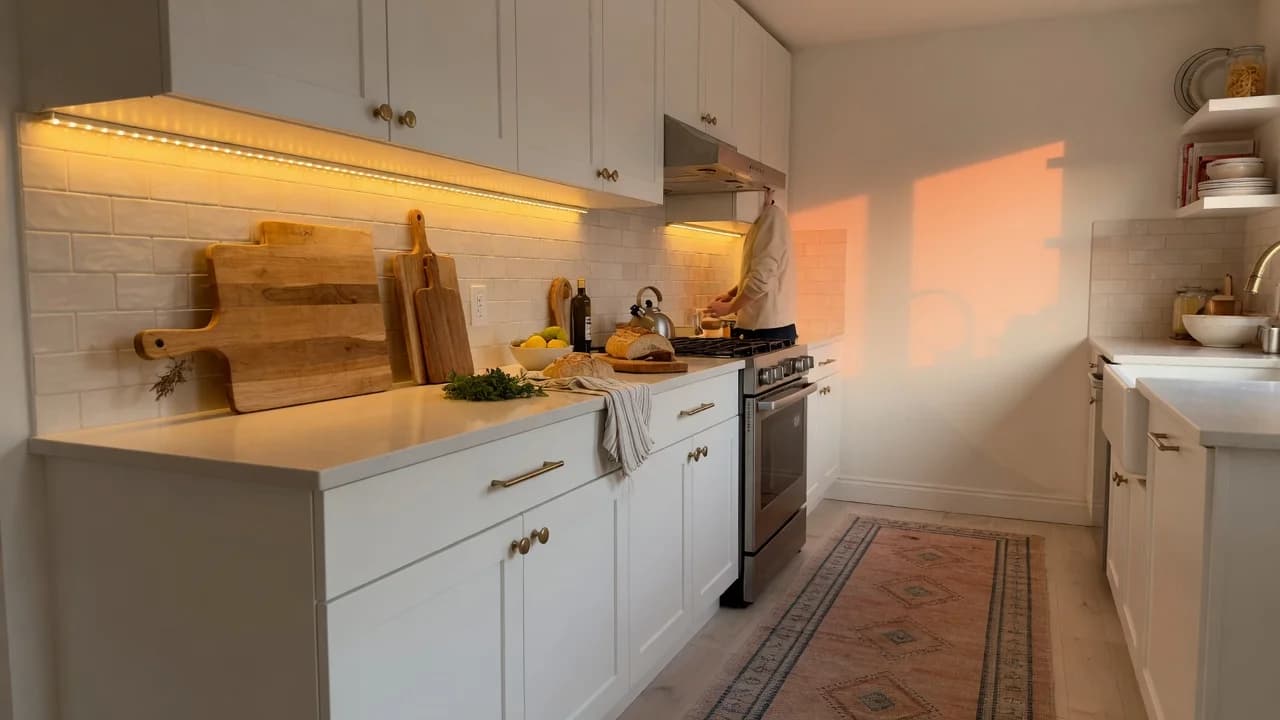
Overhead light from one source creates shadows under cabinets that make the room feel cramped. Plug-in LED under-cabinet strip lights fix this without touching building wiring. The adhesive-backed strips stick to upper cabinet undersides and draw power from existing outlets. Warm-white versions (2700K to 3000K) bounce light off the countertop and fill the room from below. Home Depot and Amazon sell 6-foot strips with remotes starting around $20. When you move out, unplug, peel off, and wipe away any residue.
The smartest renter upgrade is the one your landlord's eyes slide right past. Cabinet hardware embodies this principle. Builder-grade kitchens use chrome or brushed-nickel pulls that cost under a dollar at wholesale. They're standardized: 3-inch or 3.75-inch center-to-center spacing on drawers, single-post knobs on doors. Replacing them with matte black, unlacquered brass, or oil-rubbed bronze transforms how the cabinets read. The originals go into a labeled ziplock bag under the sink. Swap them back on move-out day. No one asks about cabinet hardware during a walkthrough.
A set of 10 to 15 pulls and knobs runs $25 to $50 at Home Depot or Lowe's. Match the existing center-to-center measurement. If you're unsure, remove one pull, measure between the screw centers, and put it back before heading to the store. The most common mistake is buying pulls with different spacing and learning the hard way that cabinet faces don't patch cleanly.
Surfaces: The Peel-and-Stick Calculus
Here's how the four main warming strategies compare on the dimensions that matter to a renter:
| Strategy | Cost | Deposit Risk | Impact | Permission Needed |
|---|---|---|---|---|
| Lighting (bulb + strip) | $26-$50 | None | High | No |
| Cabinet hardware | $25-$50 | None | Medium-High | No |
| Peel-and-stick backsplash | $100-$260 | Moderate | High | Check lease |
| Textiles + accessories | $40-$100 | None | Medium | No |
Notice that the two highest-impact changes carry the lowest deposit risk. Peel-and-stick gives you a dramatic surface transformation, but it's the only option in the group where you need to read your lease first.
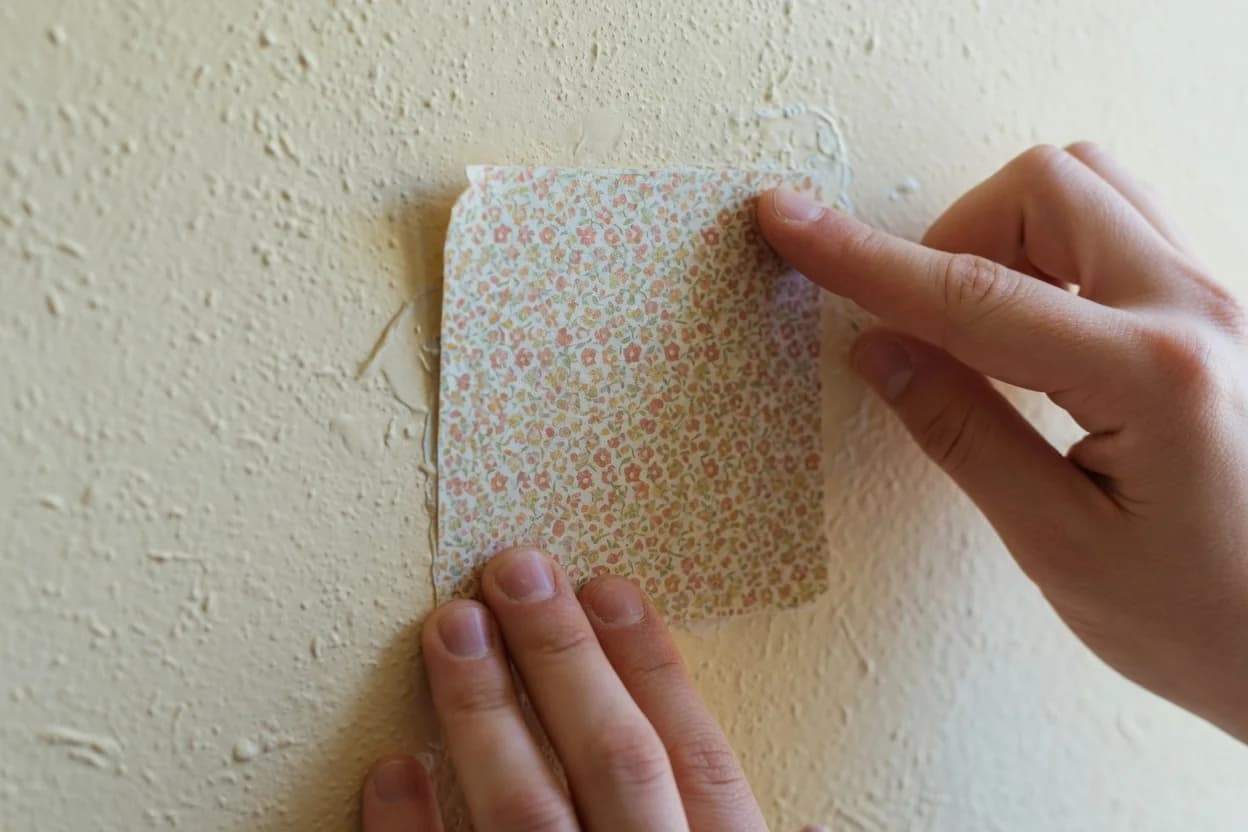
Peel-and-stick backsplash can work. It can also remove paint when you take it down, and the difference depends on three variables most product pages don't foreground: the age of the paint, the texture of the wall, and how long the adhesive cures.
According to Better Homes & Gardens, peel-and-stick tiles last at least five years on clean, smooth surfaces kept away from continuous moisture.[1] That durability is both a feature and a warning. Stronger bonds mean higher removal risk, especially on flat or matte paint older than five years. An Apartment Therapy reviewer tested Smart Tiles and found they removed paint during readjustment, concluding the product wasn't fully renter-friendly on that particular wall.[2]
If your kitchen has semi-gloss or satin paint in good condition, peel-and-stick is a reasonable bet. If the paint is flat, old, or flaking, the calculus changes. A protective underlayer (contact paper or wallpaper liner applied first) creates a removable buffer but doubles material cost and installation time. For roughly 20 square feet of backsplash, tiles alone run $100 to $200 at current US retail, and liner adds another $40 to $60.
The downside case is straightforward: if your wall isn't smooth with at least semi-gloss paint, peel-and-stick may cost more in deposit deductions than it adds in daily enjoyment. This is not a guide to making a rental kitchen look renovated. That's not possible without drywall work. Test one tile in an inconspicuous spot for a week before committing to the whole wall.
Contact paper for countertops occupies the same risk tier. It looks convincing in photos (they always do) and costs under $30. It also peels, bubbles, and scars from hot pans. If you use it, treat the counter as decorative afterward: cutting boards for prep, trivets for hot pans, and acceptance that it's a six-to-twelve-month solution.
The Layer That Costs Nothing to Undo
Textiles, wood, and plants solve what lighting and hardware can't. A builder-grade white kitchen has no texture. Every surface is hard, smooth, and reflective. Your body registers this absence below conscious attention even after the color temperature is fixed.
A washable runner breaks the uninterrupted plane of hard flooring that makes the room feel like a corridor. Low-pile cotton or polypropylene in a pattern that hides stains works best. Two by six feet fits most galley kitchens. Prices at Target and IKEA start around $25. And it costs nothing in deposit risk beyond forgetting to take it when you move.
Command strips open the walls for things nails would jeopardize. 3M rates small picture-hanging strips at 1 pound per set, medium at 3 pounds, and large at 5 pounds.[3] For a small shelf, framed print, or utensil rail, medium strips usually suffice. Clean the wall with rubbing alcohol, dry completely, press firmly for 30 seconds, and wait one hour before hanging. Skipping the wait time causes most failures, not the weight rating.
Wood cutting boards, a wooden utensil crock, and a potted herb introduce organic texture without installation. A medium cutting board leaned against the backsplash costs $15 to $25 and changes how the counter reads from across the room. Two or three of these decisions, layered with lighting and hardware changes, make the kitchen feel composed rather than assembled. The warm kitchen has layers. The decorated kitchen has peel-and-stick and nothing else.
Swap the light bulb to 2700K, change the cabinet hardware, and put down a runner. Do those three things this weekend. Together they cost under $80 and require no permission, no adhesive, and no anxiety about your security deposit.
If the kitchen still feels cold after a week with those changes in place, you've earned the right to consider peel-and-stick backsplash. By then you'll know whether your walls are glossy enough, your paint is new enough, and your tolerance for the removal process is high enough to make the investment worthwhile. Most people find the first three changes do enough that the backsplash stops feeling urgent.
The alternative—doing nothing because permanent renovation isn't an option—leaves you cooking in a room that never feels like yours. A kitchen that stays builder-grade for the length of a lease is a kitchen you avoid. You'll cook less, spend more on takeout, and resent a room you walk through six times a day. That's the real cost of inaction. Not the deposit you might lose. The months you spend in a room that could have felt warmer with an afternoon's work and a trip to the hardware store.