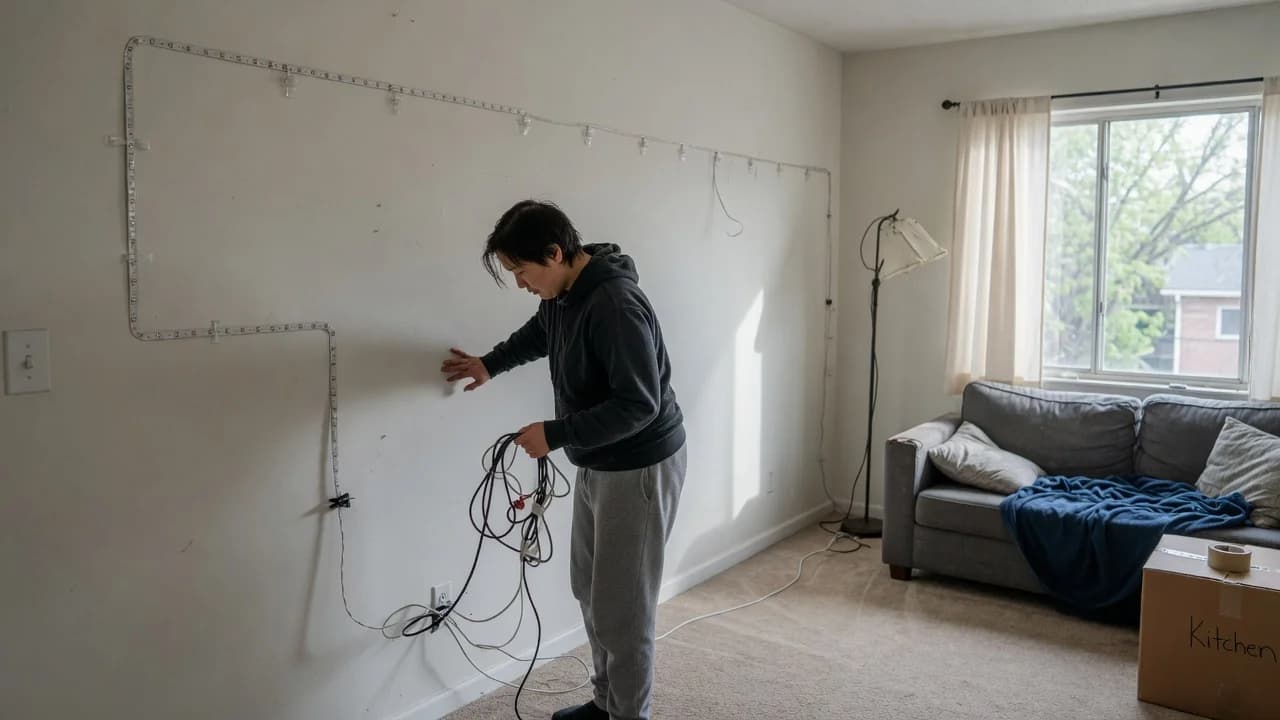
Since LED strip lights dropped below $15 a reel around 2019, they've gone from dorm-room novelty to the default rental upgrade. A 16-foot spool costs less than takeout and makes a room feel designed. But the mounting advice online hasn't caught up. You don't own the walls.
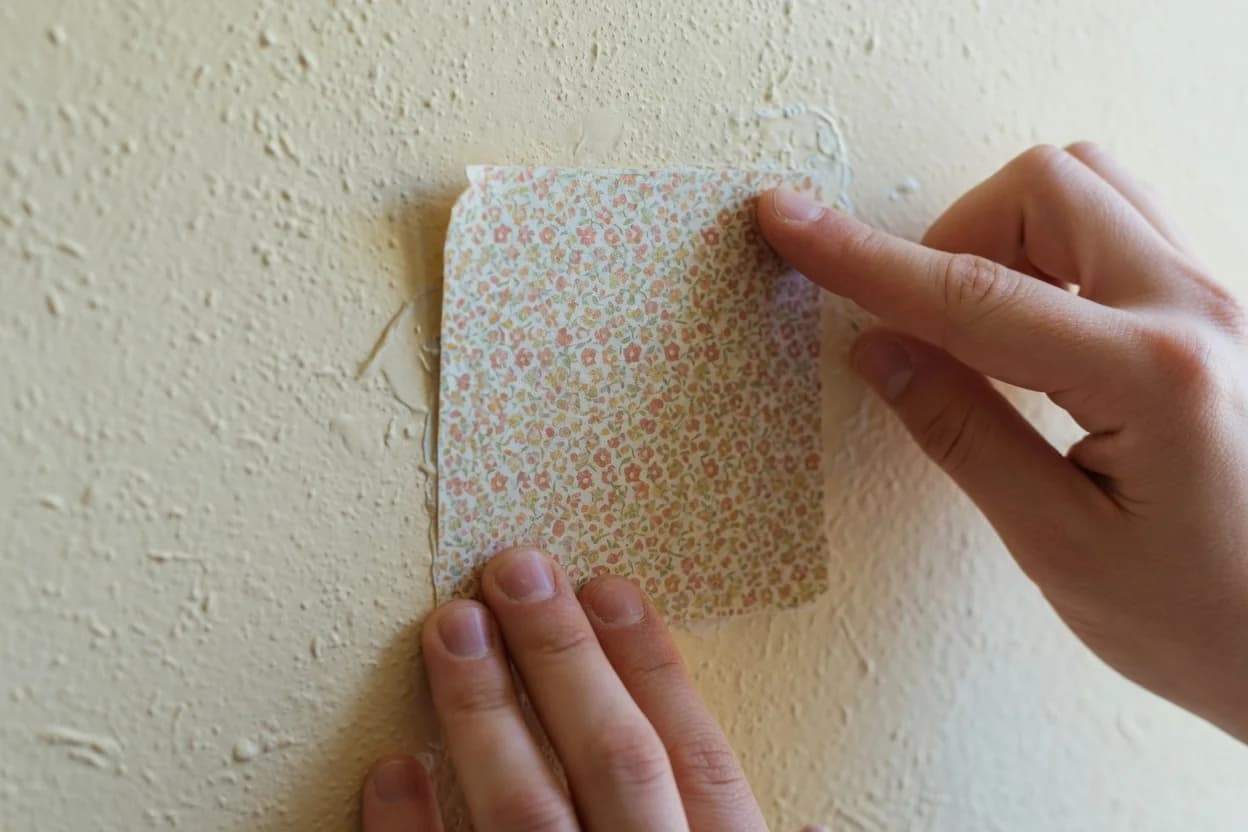
The most-recommended solution — Command strips — fails on the walls most renters actually have. The orange-peel texture sprayed on millions of US apartment walls reduces adhesive contact by enough that strips either fall or tear paint off on removal.
Whether the painter's tape method, adhesive raceways, or simply avoiding the wall entirely is your answer depends on two things: your wall's surface texture and where your outlets sit. Ignore either, and you'll be patching drywall before your lease is up.
Why Stock Adhesive Backing Is a Trap
The 3M adhesive pre-applied to most LED strips is not designed for removal. It's designed to hold. Permanently.
Pull a Govee or Philips Hue strip off a painted wall after six months and you'll see what that means. The adhesive can bond to latex paint more strongly than the paint bonds to the drywall paper underneath. The result isn't residue. It's missing paint.
Or rather: the failure isn't the adhesive itself. It's that renters apply industrial-strength bonding tape to surfaces they're contractually obligated to return in original condition. That's the mismatch. And it explains why every method that follows either avoids direct wall contact or puts something disposable between the adhesive and the paint.
The Painter's Tape Buffer Method
The question isn't which tape to use; it's what your wall is made of.
If your walls are smooth painted drywall, skip this method and use small Command clear clips spaced every 12 inches — they're rated up to 1 pound per pair and remove cleanly from smooth surfaces when you pull the tab straight down.[1]
If your wall has any texture — and most US apartments do — you need the buffer method. Here's how it works:
Clean the mounting path with 70% isopropyl alcohol and a microfiber cloth. Skip this and nothing sticks, period. Let the wall dry for five minutes.
Apply ScotchBlue painter's tape (the original blue kind, not the delicate-surface purple) directly to the wall along your planned light path. Press it down firmly. This tape uses a low-tack acrylic adhesive formulated to release cleanly for up to 14 days. In practice, it holds for months on interior walls without hardening, but don't push it past a year.
Stick your LED strip's adhesive backing to the painter's tape — not the wall. Use small Command clear clips as reinforcement every 2-3 feet for longer runs. The clips grab the strip physically so the adhesive isn't doing all the work.
When you move out, peel the painter's tape off slowly at a 45-degree angle. If it resists, warm it with a hair dryer on low for 10 seconds. The tape releases. The LED strip comes with it. Your wall stays untouched.
Surface test: Run your hand across the wall. Smooth? Command clips alone. Bumpy? Buffer method.
Cost: About $12 total — ScotchBlue tape ($7) plus a pack of Command clear clips ($5).
Spacing: Reinforce with clips every 2-3 feet on runs over 6 feet.
Removal: Hair dryer on low, 10 seconds, peel at a 45-degree angle.
One roll of ScotchBlue tape plus a pack of Command clips runs about $12. A can of color-matched paint for repairs? At least $18. And that's before the labor your landlord will bill you for.
Cord Management Without Wall Damage
The LED strip is only half the problem. The power cord dangling to the outlet is the other half. Most rental cord-hiding advice involves drilling holes (no) or tucking cables under carpet — a fire hazard prohibited by the National Electrical Code.[2]
What works: adhesive-backed cable raceways. These are paintable plastic channels about an inch wide that stick to the wall, run your cord inside, and snap shut. D-Line makes the most widely available version in the US, sold at Home Depot and Amazon.[3]
Installation takes about 15 minutes: cut to length, peel the backing, press onto a clean surface, run the cord, snap closed. But the adhesive is strong — D-Line warns to take care when positioning lengths since the adhesive backing creates a strong bond.
So use the buffer trick. Lay down painter's tape first, stick the raceway to the tape. For vertical drops, one roll of ScotchBlue ($7) plus a D-Line kit ($15) totals $22. A drywall patch billed by your landlord runs $60 to $100. The math isn't close.
If your layout allows it, run the power cord along baseboards or behind furniture instead. Small Command clear clips pin a thin cord against the top edge of a baseboard almost invisibly. No raceway needed.
When Your Walls Won't Cooperate
The buffer method has two hard limits: humidity and pre-existing damage.
Bathrooms, kitchens above stoves, and any wall that sees condensation will break down painter's tape within weeks. Moisture penetrates the paper backing and the tape curls. In these rooms, mount LED strips to furniture instead — the back edge of a bathroom mirror, the underside of a cabinet, or a freestanding shelf.
Walls with flaking paint, water stains, or multiple layers of old flat-finish paint are also risky. Flat paint has poor internal cohesion. Any adhesive can pull it off. Test in a closet first: run a 2-inch piece of painter's tape, leave it for 24 hours, peel it. If paint flakes come with it, your walls aren't candidates for any adhesive method. Mount to furniture or use freestanding floor lamps with LED strips instead.
Before you stick anything to your rental wall:
- Is the surface smooth or textured? (Textured → buffer method or furniture mount)
- Is this a bathroom or above a stove? (Yes → furniture mount only, no tape)
- Does paint flake when you test in a closet? (Yes → no adhesives, period)
- Will the strip run exceed 6 feet? (Use clips every 2-3 feet for reinforcement)
Removal: The Part Most People Skip
Installation gets all the attention. Removal is where the damage actually happens. And doing it wrong can undo every precaution you took.
Three rules for removal, in order:
First, heat the adhesive. A hair dryer on low held 6 inches from the wall for 10-15 seconds softens both painter's tape and Command adhesives. Cold adhesive is brittle and grabs paint; warm adhesive stretches and releases.
Second, pull at a 45-degree angle, never 90. Straight-out pulling concentrates force on a small area of paint. A low-angle pull spreads the load across more surface. For Command strips, pull the tab straight down while keeping your hand against the wall — the strip should stretch to about 15 inches before releasing.[1]
Third, if anything resists, stop. Dental floss sawed behind the adhesive works as a cutting tool that separates tape from paint without pulling. Run it behind the strip in a back-and-forth motion. Then roll any remaining adhesive off with your thumb. If adhesive residue stays behind, a dab of Goo Gone on a cloth removes it without damaging cured latex paint.
The consequence of skipping this: a 30-second impatient yank can tear off paint that's been on the wall since before you moved in. Your landlord will notice. The repair will cost more than the LED strips did. Don't find out the hard way.
Test your wall before you buy anything. Run your hand across the surface. If it feels like an eggshell or orange peel, the painter's tape buffer method is your answer — ScotchBlue tape as a disposable layer, LED strip on top, Command clips for reinforcement. If it's glass-smooth, small Command clear clips alone will work. In either case, pin the power cord with a painter's-tape-backed adhesive raceway or clip it along the baseboard. When it's time to move, heat, peel at 45 degrees, and walk away with your full deposit.