Since Command strips appeared in hardware aisles, the advice on hanging art without nails has barely changed: buy the strips, wipe the wall, press, and wait. What that advice leaves out is the step that determines whether you'll be peeling strips off in frustration two days later. The failure point isn't usually the adhesive. It's the layout you committed to before you knew it was wrong.
You can't reposition damage-free strips the way you can shift a nail hole. Every peel-and-restick weakens the bond. And yet most people treat layout as something they'll figure out once the strips are on the wall.
The better question is whether you've done the 20 minutes of paper planning that makes the strip choice almost irrelevant. That understates it, but it's the truth: you can buy the right weight rating and still end up with a crooked wall because you skipped the layout step.
What matters: how much each frame actually weighs, how many strips that weight demands, whether your wall surface will hold at all, and whether the spacing reads as intentional from across the room. None of these are things you want to discover after you've clicked eight strips into place.
Why Most Gallery Walls Fail Before the First Strip Touches the Wall
The most common failure with damage-free strips isn't a fallen frame. It's a crooked layout that looked good on the floor but reads as chaos on the wall, or strips that held for three days because the frame was 2 pounds over the weight rating.
Here's the typical sequence. You lay frames on the rug, shuffle for ten minutes, find something balanced, and start sticking. The floor perspective lies to you. It flattens everything into a top-down view that has nothing to do with how the arrangement reads at eye level from six feet back. By the time you notice the top-right cluster is cramped and the bottom-left piece is floating in dead space, you've already committed strips that won't survive being peeled and re-stuck.
Most people treat layout as something they'll figure out after the strips hit the wall. That approach works with nails, where you can fill a misplaced hole in 30 seconds. It doesn't work with adhesive strips, where every repositioning weakens the bond irreversibly.
What Actually Happens When You Reposition Adhesive Strips
Command's instructions tell you to press firmly for 30 seconds and wait one full hour before hanging weight.[3] That builds maximum adhesion exactly once. Reposition, and the adhesive's microscopic contact area shrinks. A bond that held 15 pounds on the first try might hold 9 on the second. Pressure-sensitive adhesives need initial pressure to flow into surface pores; that flow doesn't replicate after the strip has been stretched during removal.
The weight problem compounds this. Command Large Picture Hanging Strips, four pairs, hold up to 15 pounds on frames no larger than 24 by 36 inches.[1] A 16-by-20-inch frame with glass and wood molding easily weighs 5 to 7 pounds. Two side by side? Fine. Three in a tight cluster with a heavier mirror at center? Now you need to count strips, and most people don't.
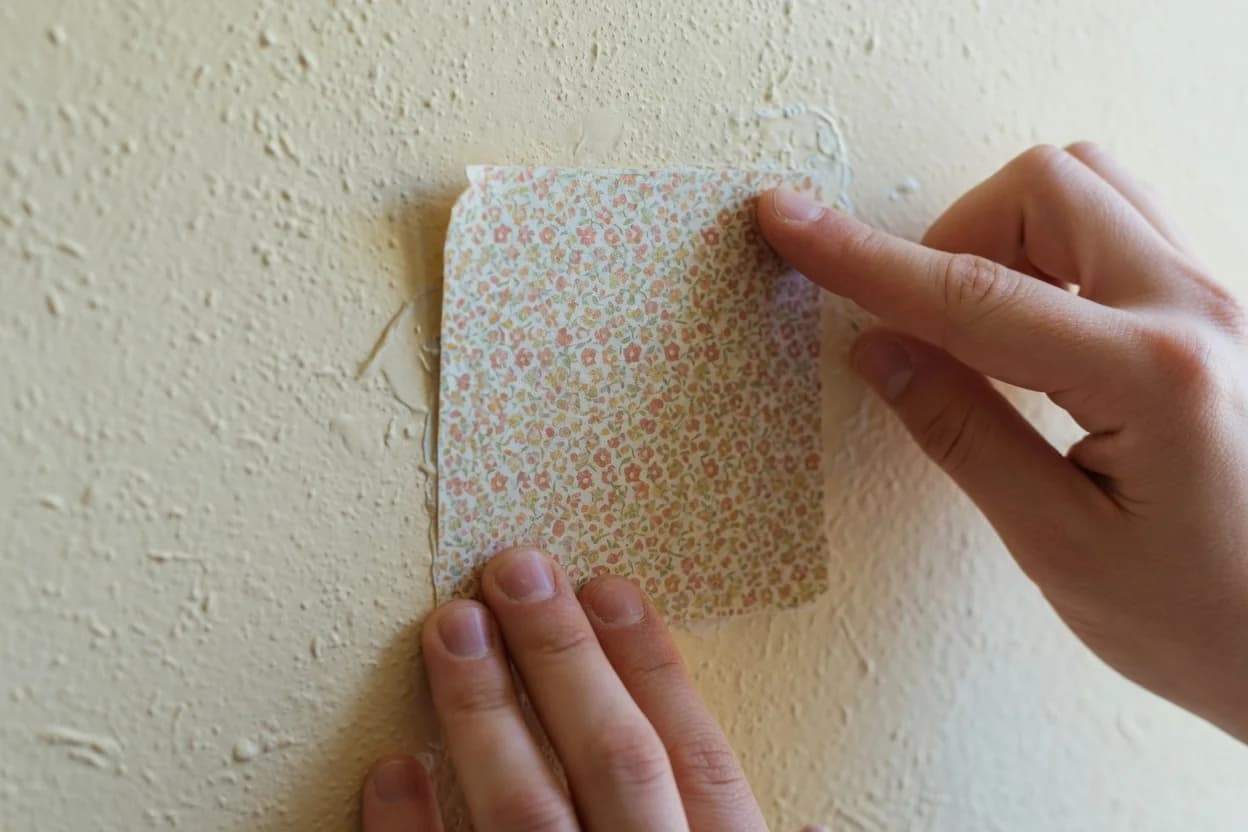
Surface condition is the third variable. Command specifies smooth painted walls, metal, tile, and glass as compatible. Textured drywall, brick, and wallpaper are all problem zones. On orange-peel texture, the strips contact the peaks only. The weight rating assumes full, flat contact.
The Paper Template + Weight Map Method
The single highest-leverage thing you can do before opening a strip packet is spend 20 minutes with kraft paper, scissors, painter's tape, and a kitchen scale.
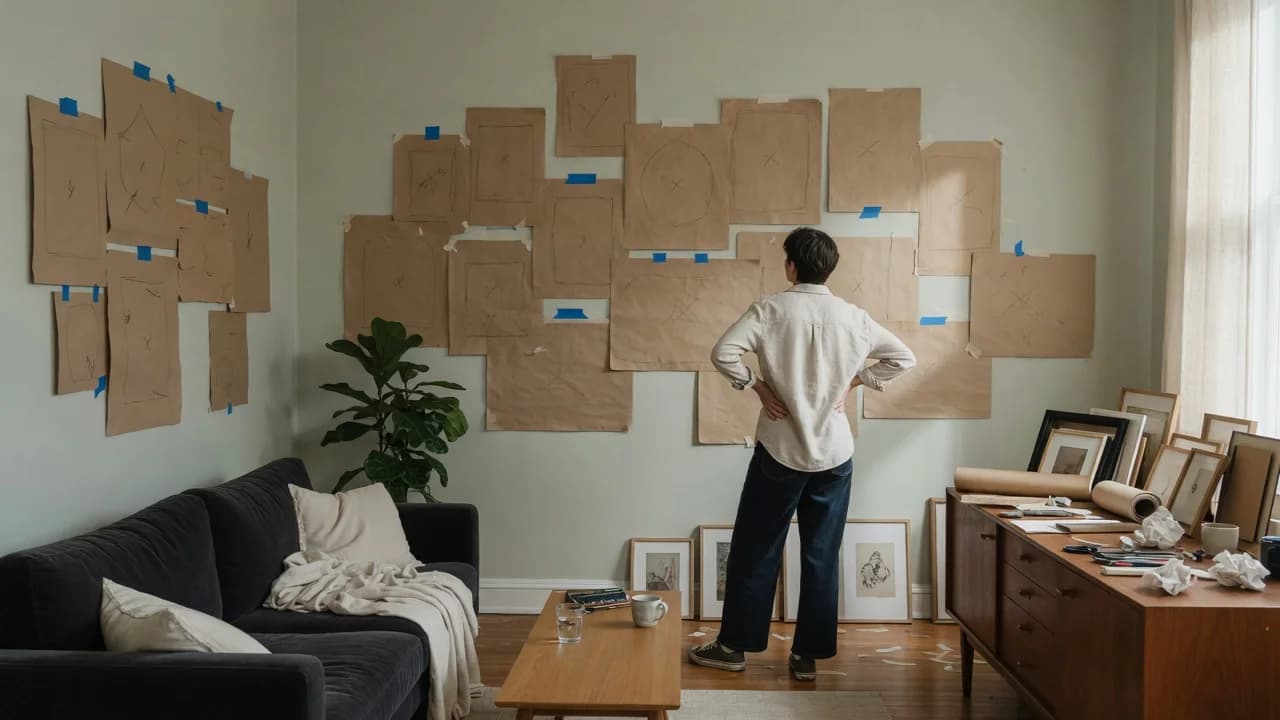
Trace each frame onto kraft paper and cut the shapes out. Better Homes & Gardens lists this as the first active step for any gallery wall, and for good reason: it converts an abstract arrangement into something you can see from the distance that matters.[2]
Three additions turn the exercise from helpful to decisive. Weigh every frame on a kitchen scale and write the weight on each template. Mark the hanging points so you know where load-bearing contact will happen. Tape everything to the wall and leave it for a few hours; walk past in different light. The arrangement that seemed clever at 10 a.m. might read as chaotic by evening. The reframe is simple: the hanging strips aren't the commitment; the layout is.
Spacing is where people get sloppy. BHG recommends 3 to 6 inches between frames.[2] I'd start at 3 inches and only widen if the wall feels sparse. Two inches is the absolute minimum for intentional grouping. Measure it. A ruler costs less than a single pack of strips.
The table below matches frame weights to the Command strip product you actually need.
| Frame Weight | Strip Type | Pairs Per Frame | Max Frame Size |
|---|---|---|---|
| Up to 4 lb | Command Medium | 4 pairs | 18″ × 24″ |
| 4–12 lb | Command Large | 4 pairs | 24″ × 36″ |
| 12–15 lb | Command Large | 4 pairs | 24″ × 36″ |
| 15–20 lb | Command X-Large | 4 pairs | 24″ × 36″ |
| Over 20 lb | Not a strip job | N/A | Use nails or anchors |
These weight limits come directly from the manufacturer's published specifications.[1] If your frame falls near the upper boundary, add a pair. Strips are cheaper than replacing a shattered frame and glass.
Surface condition matters as much as weight. The official instruction: wait 7 days after painting before applying any strip.[3] If you painted last weekend, this isn't your project yet. Also, wipe the wall with rubbing alcohol, not household cleaner or water, before application. Any residue reduces adhesion.
When Strips Are the Right Call (and When They Aren't)
If you do the template planning thoroughly, you'll sometimes discover strips aren't your best option. That's the method working. Strips are right when frames sit comfortably within weight limits with a 20% margin, your wall is smooth and paint-cured, and you're renting or avoiding drywall repair. Strips are wrong when your heaviest piece exceeds 20 pounds, the wall has heavy texture, or humidity swings challenge any adhesive. Command products are rated for 50 to 105 degrees Fahrenheit indoors.[3] A sunroom that hits 110 in July is outside spec. Traditional picture hooks cost less per piece and work on any surface but leave holes. For a renter, the math usually favors strips at $6 to $8 per pack; a single deposit deduction for wall repair runs $50 to $200.
Run through this before committing:
- Weighed every frame? If not, find a scale.
- Surface smooth and paint cured at least 7 days? If you painted this week, wait.
- Heaviest piece under 20 lb? Over that, switch to nails or anchors.
- Templates taped and viewed from across the room? The floor doesn't count.
If your frames all clock in under 15 pounds, your walls are smooth and cured, and you've done the paper-template session, use Command Large Picture Hanging Strips at four pairs per frame and respect the 1-hour waiting period after application. If any piece falls between 15 and 20 pounds, step up to the X-Large strips and consider five pairs instead of four for frames near the ceiling of that range. If anything exceeds 20 pounds, or your wall texture would make a sponge jealous, skip the strips entirely and hang with picture hooks anchored into studs or drywall anchors.
If you're unsure about the surface, test one strip on an inconspicuous spot 24 hours before hanging day. Better to lose one strip to a failed test than eight strips and a frame.
What happens if you skip the planning? The strips might hold. Plenty of people get lucky. But if they don't, you're out the cost of replacement strips, possibly a broken frame, and a patch of wall where the paint came off with the repositioned adhesive. The 20-minute paper session costs nothing and prevents all of it. Skip it at your own risk, not the strip manufacturer's.